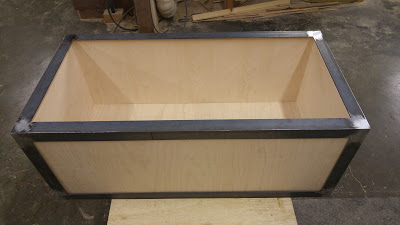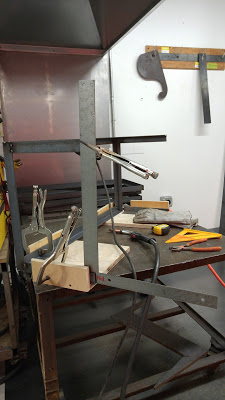


So this weekend marks the two year anniversary of physically starting my tiny house build! With the help of some friends, we built the floor box. If I had it to do over again, I would have framed an actual floor joist system and insulated it with Roxul (which I used for the wall and rafter cavities as well as for the exterior insulation wrap). I really love all of the qualities Roxul has to offer, sound dampening being number one.
 Q: Is it on wheels?
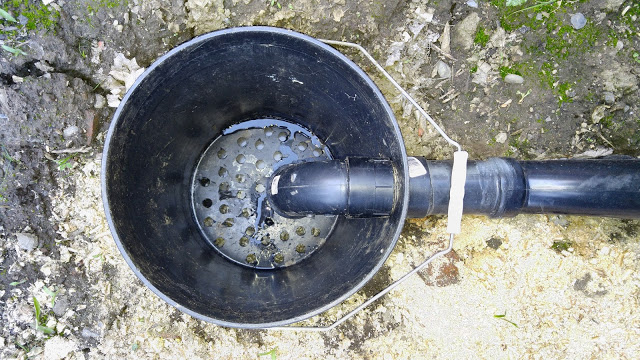
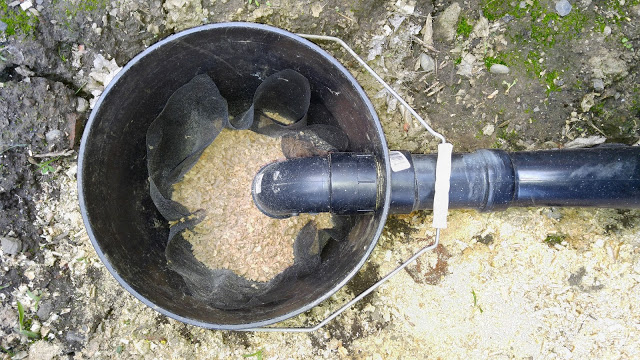
 Q: What is your greywater system?
 A few other things...
Anyway, instead of doing a recap of the build process (since you can read about the different parts in other blog posts), I thought it would be fun to do a sort of Q&A and talk about what it's like to actually live in a tiny house. Please feel free to ask more questions in the comments section and I will respond as soon as I am able.
Here goes...
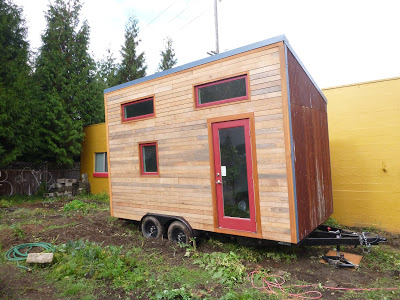
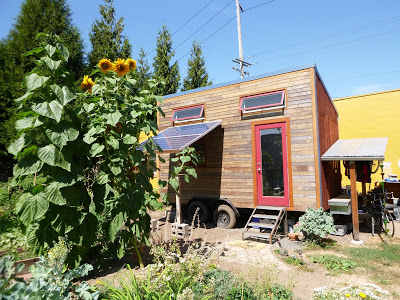
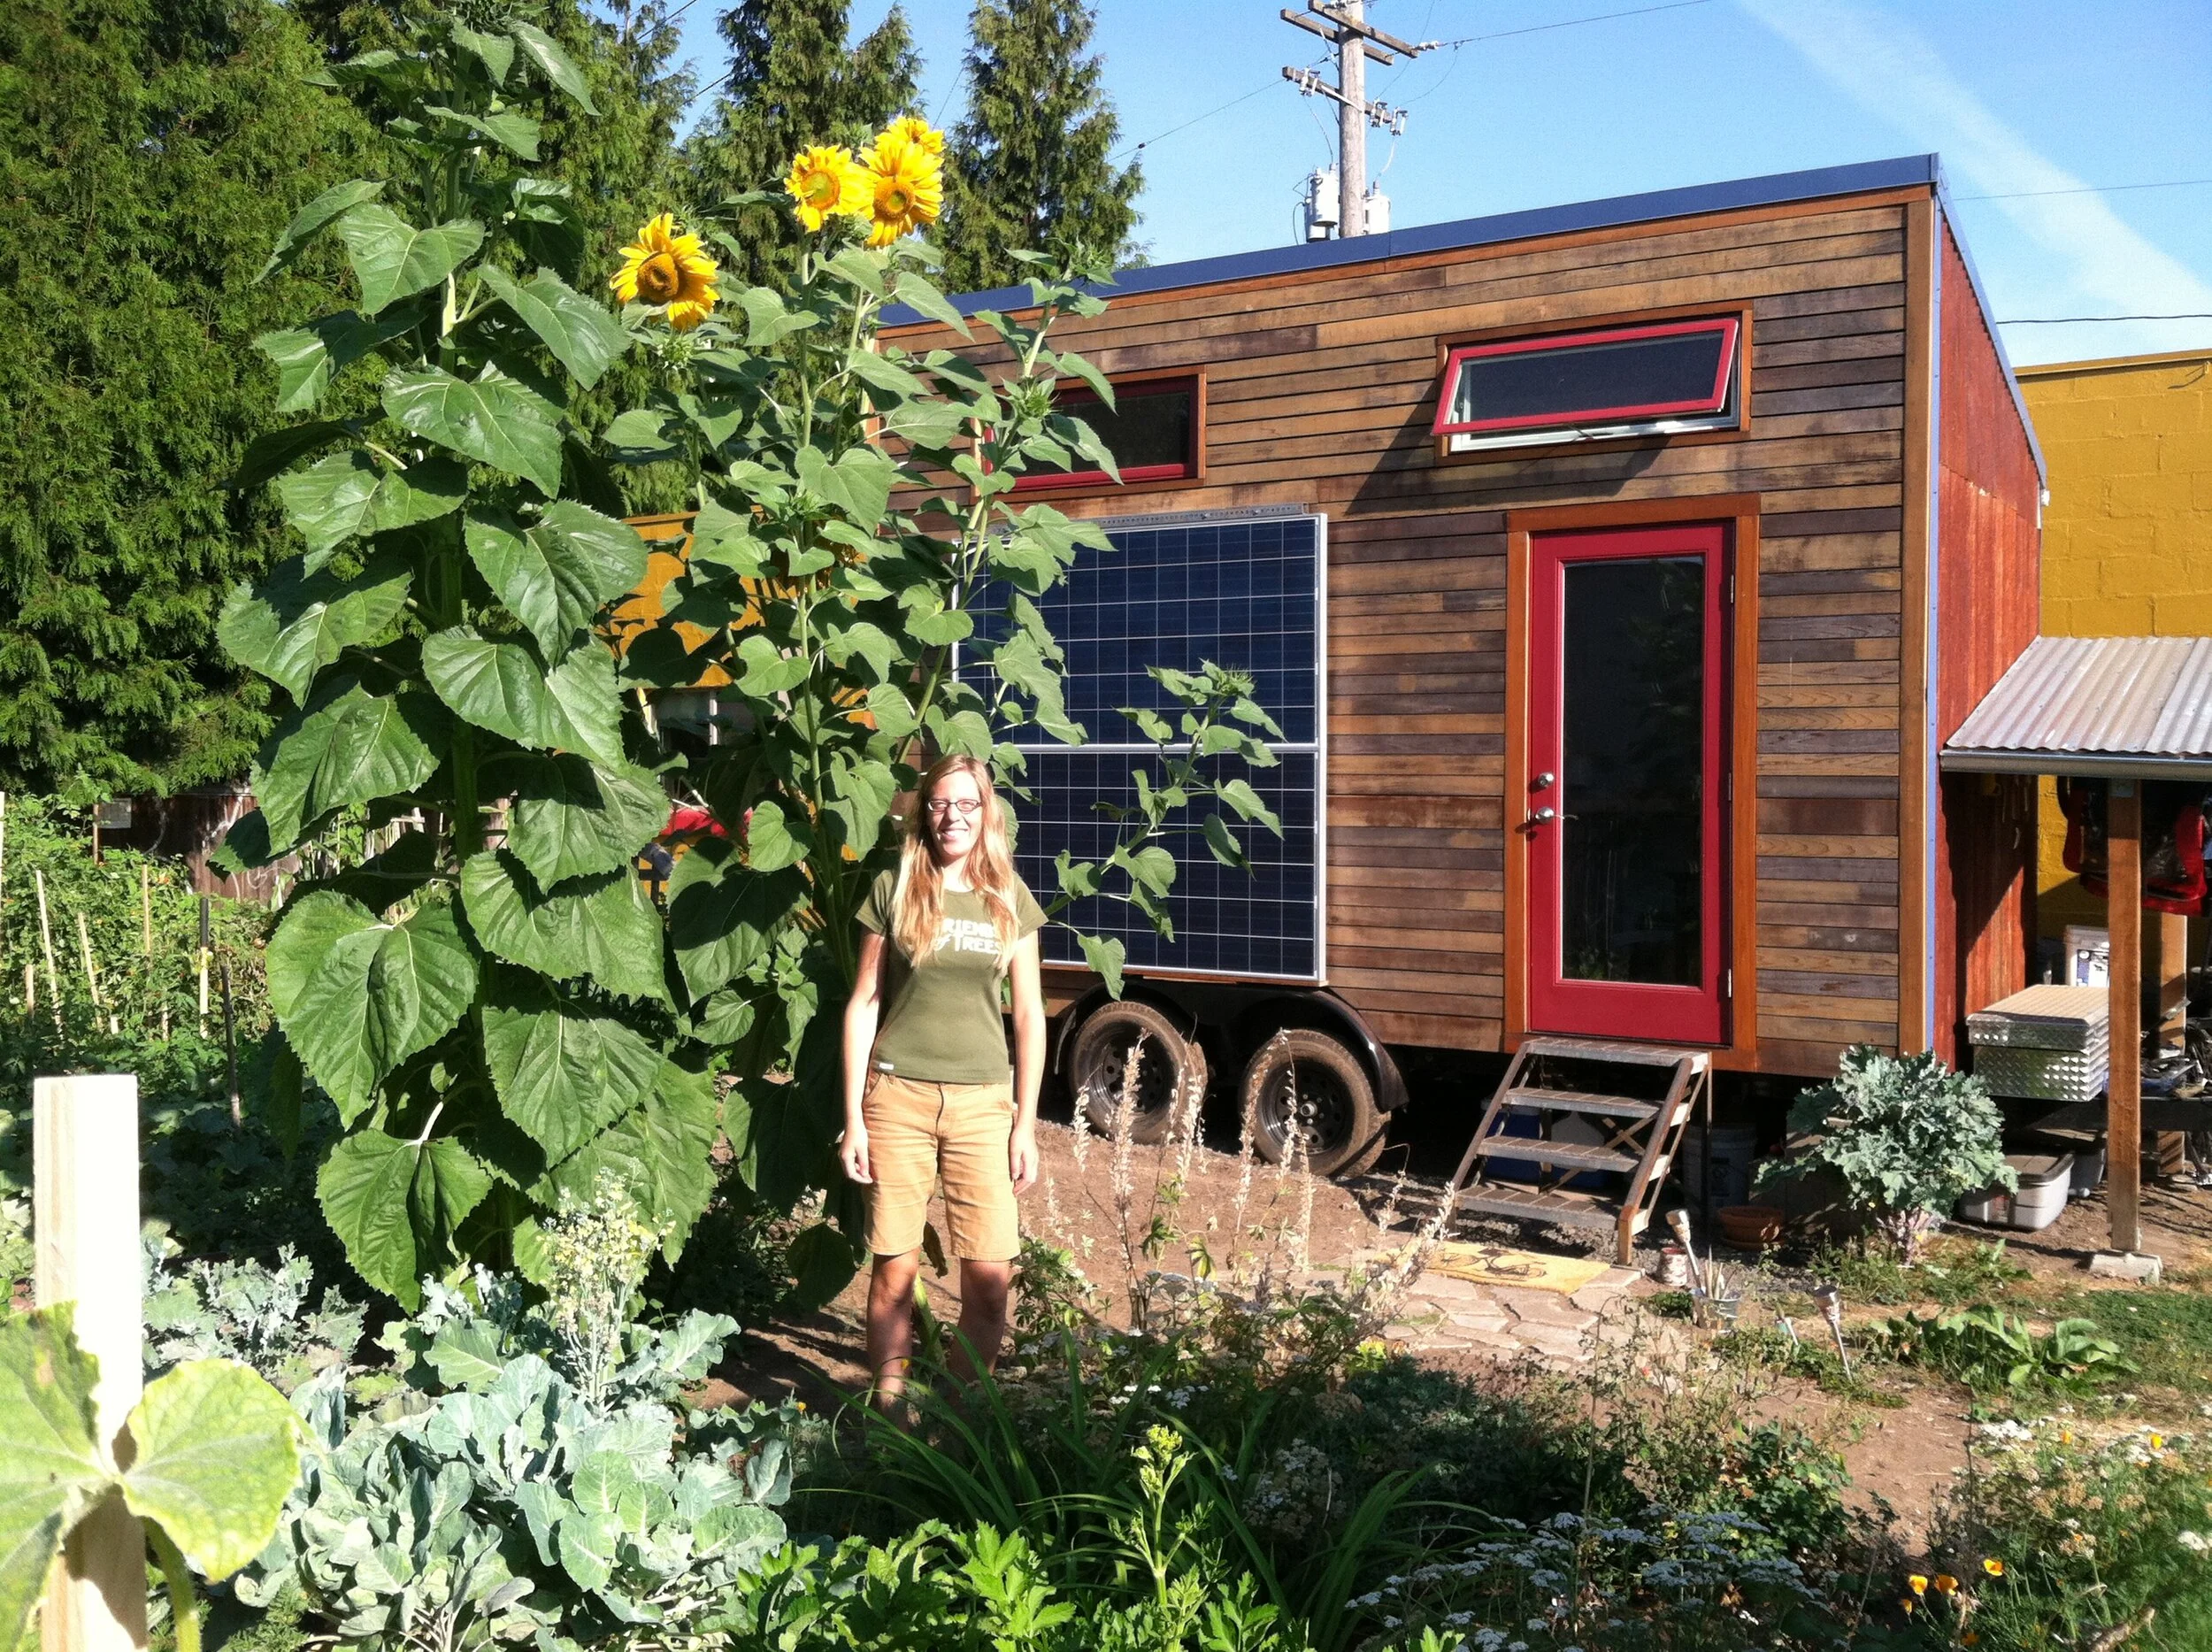
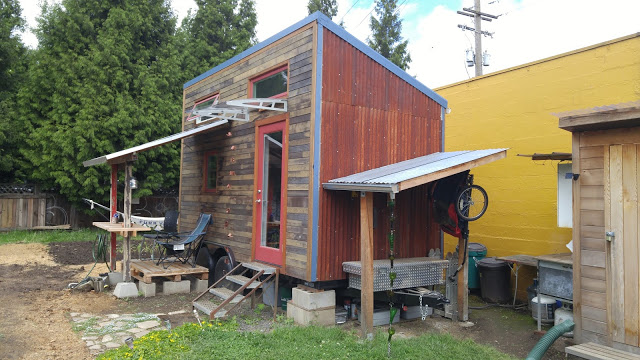
Q: How big is it?
A: It's about 150 sq.ft. (100 sq.ft. on the main floor and 50 sq.ft. in the loft). People often exclaim "It's so big!" when they first see it and are impressed with the spaciousness of the interior. I have toured several 16' tiny homes and they all felt very different due to layout and materials.
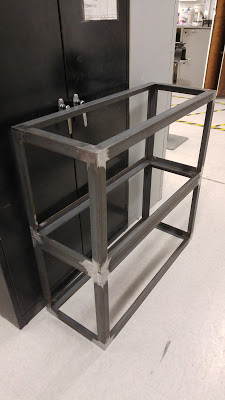
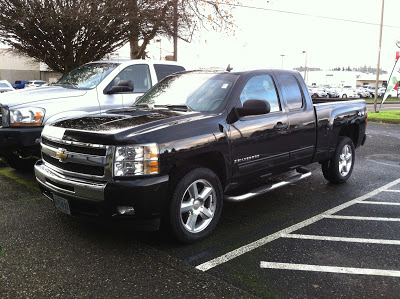
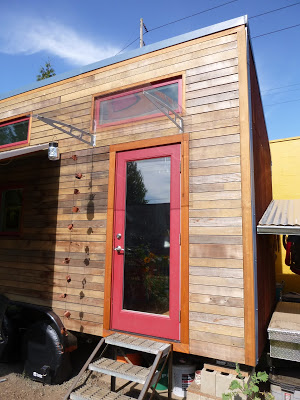
A: Yes, it's built on a 16' trailer.
Q: How long did it take you to build?
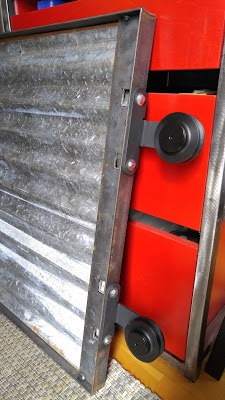
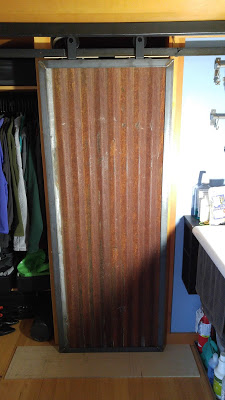
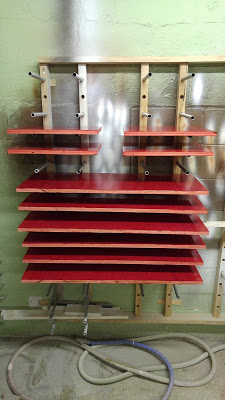
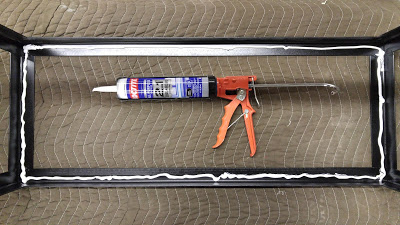
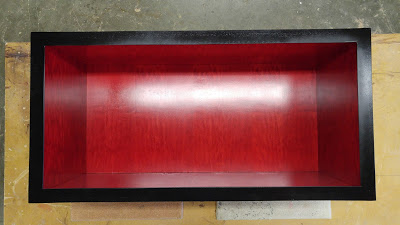
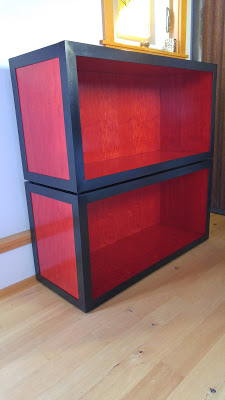
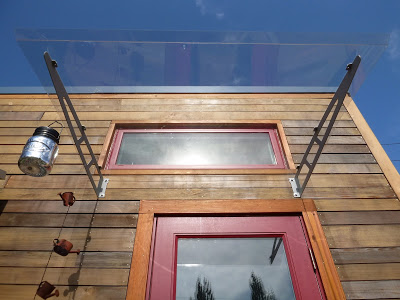
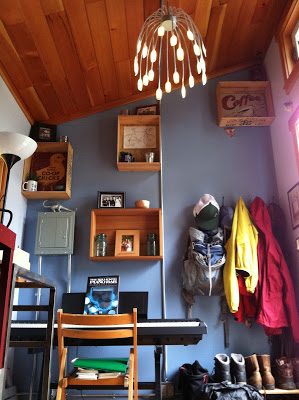
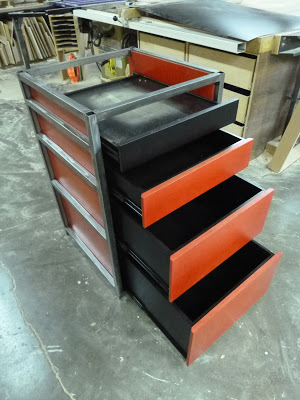
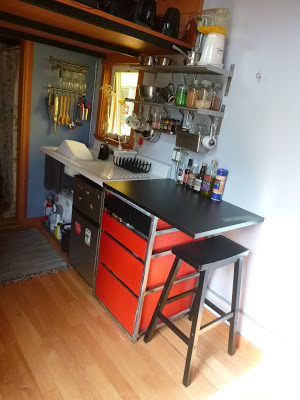
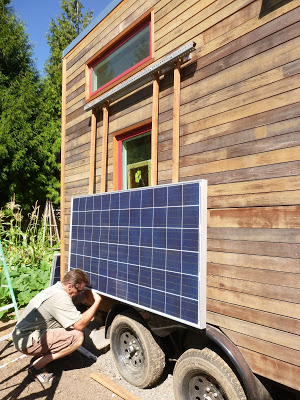
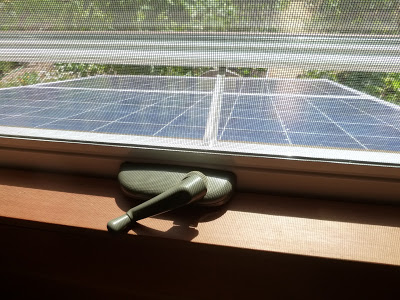
A: That's a complicated answer. I began dreaming and designing about a year before I started physically building. I had saved a chunk of money which I hoped to use to complete the shell and make it livable. I did that in about 6 months but the bulk of the shell building I completed in 3 months since I was just working at a job a few hours here and there and could put in 12 hour days building if I wanted. The second 3 months I began working 30 hours a week so I had much less time to build. After 6 months of building, I towed my house to it's current location and started living in it. I stopped building for a couple of months so I could save up more money to continue. I then installed the plumbing and finished the bathroom (3 months in), installed the electrical (9 months in) and solar (10 months in), completed the kitchen cabinet (11 months in), and finished the barn door and storage cabinets (17 months in). Finishing out my home has been a function of money, time and design. I could have completed projects sooner if I had the money and time but since I didn't have those things, I was able to spend more time thinking about and experimenting with different options while I lived in it. For instance, I had originally planned a daybed/storage box in the "great room" but then I decided to buy a full size digital piano and built my kitchen cabinet with a cantilevered countertop to accommodate the saddle style stool I love so much. Both of these things filled in the space of the planned daybed and my closet could only handle so much storage, so I built a couple of open boxes for my outdoor gear storage. I designed them to match the kitchen cabinet I made with a welded frame and red stained wood infill panels. Most of these components were not designed for frequent moving and it will be quite a task to secure everything for a move but it's not something I plan to do often. I am at a point now that I consider it done. As with any home, there is ongoing maintenance like replacing water heaters and refrigerators (which I may do and get electric/propane combos), changing door hardware and getting rid of things you no longer use. I have the components to add an exterior outlet but haven't had a need for that yet so will install when/if necessary. I may also swap out the wood supports for the solar awning with aluminum unistrut or rail or I may just disassemble and reassemble the system when I move.
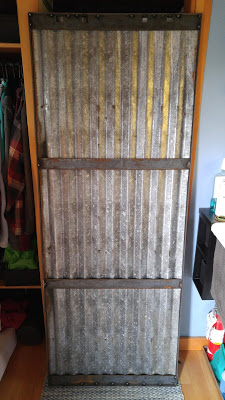
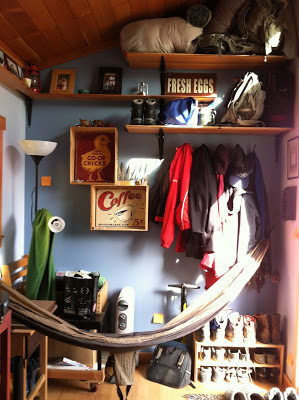
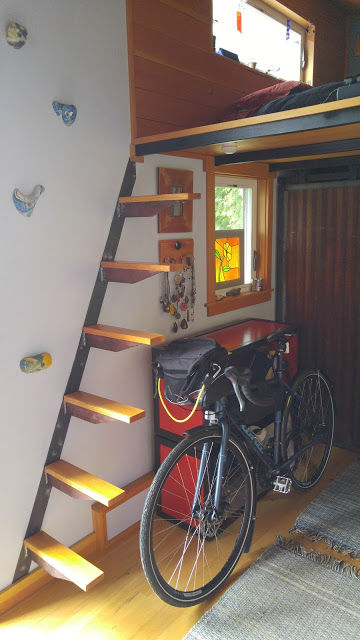
Q: What's your favorite part about it?
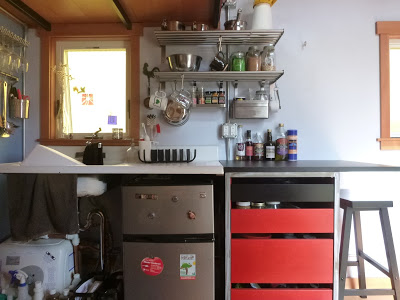
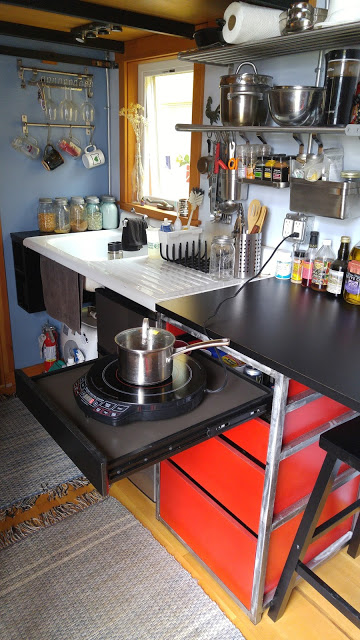
A: My loft and the ladder. I'm really proud of the design/build of the steel cantilevers with the fir treads. I also really love my kitchen farm sink!
Q: How do you cook?
A: I have an induction cooktop that pulls out on the top shelf of my custom built cabinet. I also have an RV/boat stove with cooktop and oven that I like to use during the warmer months to keep my house cooler and because it's fun to cook and bake outside. In addition, I have access to my yardie's grill and I plan to buy my own because I really like how easy grilling is and the way the food tastes.
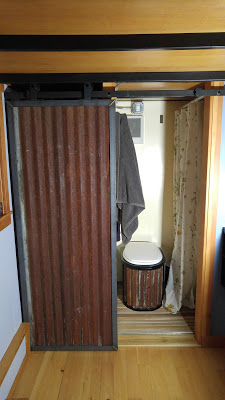
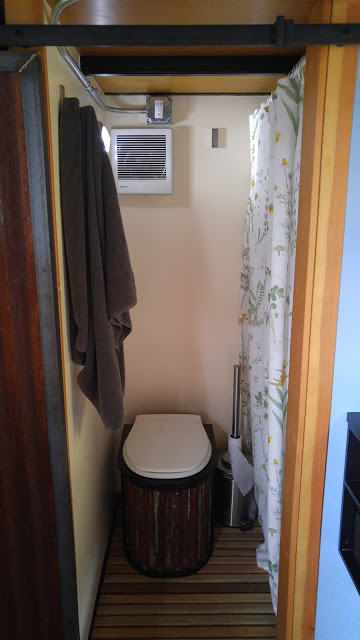
Q: How does your toilet work?
A: I have a simple bucket compost toilet with a Separett insert which divides #1 and #2. I currently just use it to pee in since we decided not to manage humanure on site. I have access to sewer connected toilets for #2.
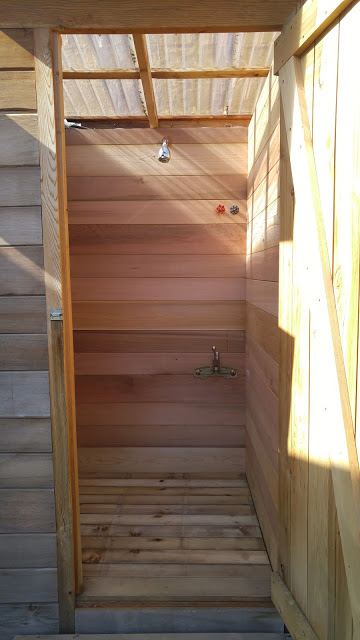
Q: What's it like to shower in your house?
A: I don't because I am worried about the amount of moisture it would create and even with a bath fan I still see potential mold issues due to the tightness of my air barrier. We built an external structure on site that includes a shower and laundry facilities. It has been wonderful to shower this way even in the cold of winter (PNW style, relatively mild with occasional snow) and even uninsulated because the cedar really helps the space warm up quickly.
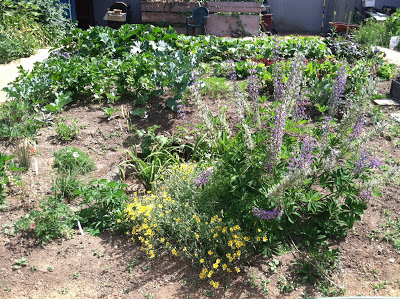
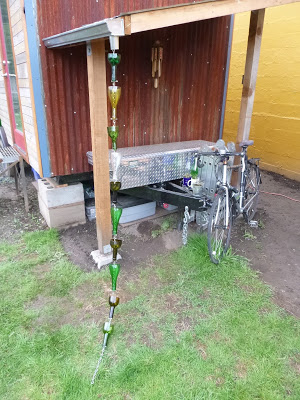
A: Both my house and the yard structure have a bucket system where water enters a stack of 2 buckets from near the top, is then filtered through sawdust (again cedar is really great, especially incense cedar) and window screen mesh through many small drilled holes into the bucket below. That bucket is attached to another one farther away with a 10' piece of ABS pipe and fittings to give a good seal. The final bucket is filled with rocks and also has drilled holes in the sides and bottom to disperse the water into the ground. The final bucket is completely buried and we haven't tried digging it up yet to see how that part is working. We have cleaned out the first bucket occasionally and decided it would be best to try to do that monthly so it isn't as gross. What we usually do is throw away the sawdust part (though I have composted it once) because otherwise it can really make the yard smell bad. We hose off the screen, bucket and cover and leave to air out in the sun for a day. Then, we put the bucket back in place, add the mesh and the sawdust. Other options could be to build a french drain and/or filter the water directly through soil to water flowers or veggies.
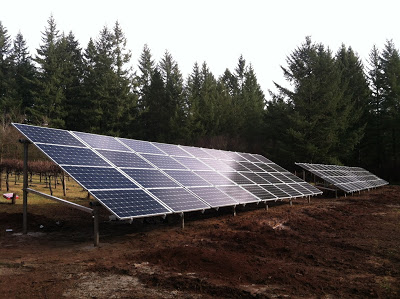
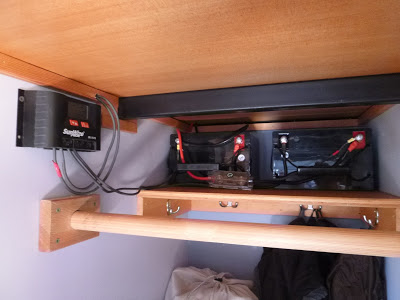
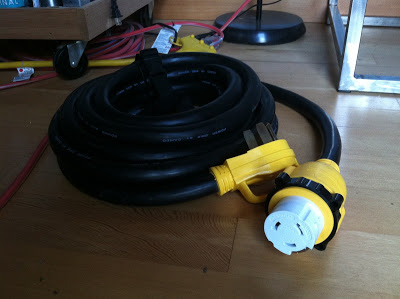
It's really awesome to have electricity that powers my whole house (after 9 months on an extension cord), some of it even powered by the sun.
Also, running water, and HOT running water!
Creating a place for everything and giving away things I no longer need or want.
On partly cloudy days when the sun comes out from behind a cloud and warms up the fir when I am lounging in my loft...and then the glow fades behind another cloud...I could do nothing but watch for hours, really magical.