


Figuring out how to build a light, well-sealed, energy efficient floor for a tiny house on wheels can be quite challenging. I knew I wanted to inset the floor into the trailer frame instead of placing it on top so I would have more head room since I designed my house to have a loft. I think this is also a more secure connection to the trailer although my walls are mostly independent of the floor system (the subfloor will probably be toe-nailed to the the bottom plates) since they will be bolted to the angle iron flange.


I originally thought I would build a floor box out of 2x6's with rigid foam as insulation (lightweight and high R-value) and a thermal break from the trailer and the metal pan undercarriage, but then considered another system using fiberglass reinforced panels glued to several layers of foam and then covered with the subfloor. My build buddy Lina had seen a similar system recently and wanted to try it out as a lighter weight, lower cost alternative so I decided to give it a go. Unfortunately, we could not find a glue that would stick to both the foam and the fiberglass panels (we tried out the foamboard adhesive and liquid nails). I even called the panel manufacturer to ask about what adhesives would stick and he told me I would need to call the adhesive manufacturer which was not very helpful. In this process, we also learned that having the ribs underneath the trailer spaced at exactly 24" on center would have been very helpful since sheet goods typically come in 4'x8' pieces and having them break on the ribs would be great!
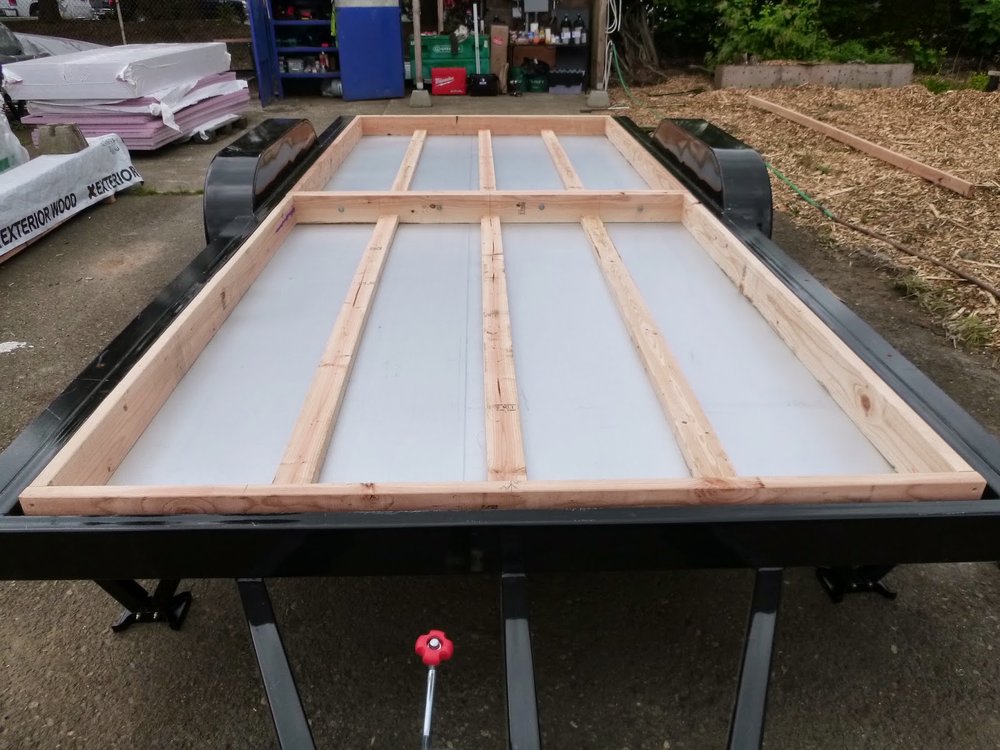
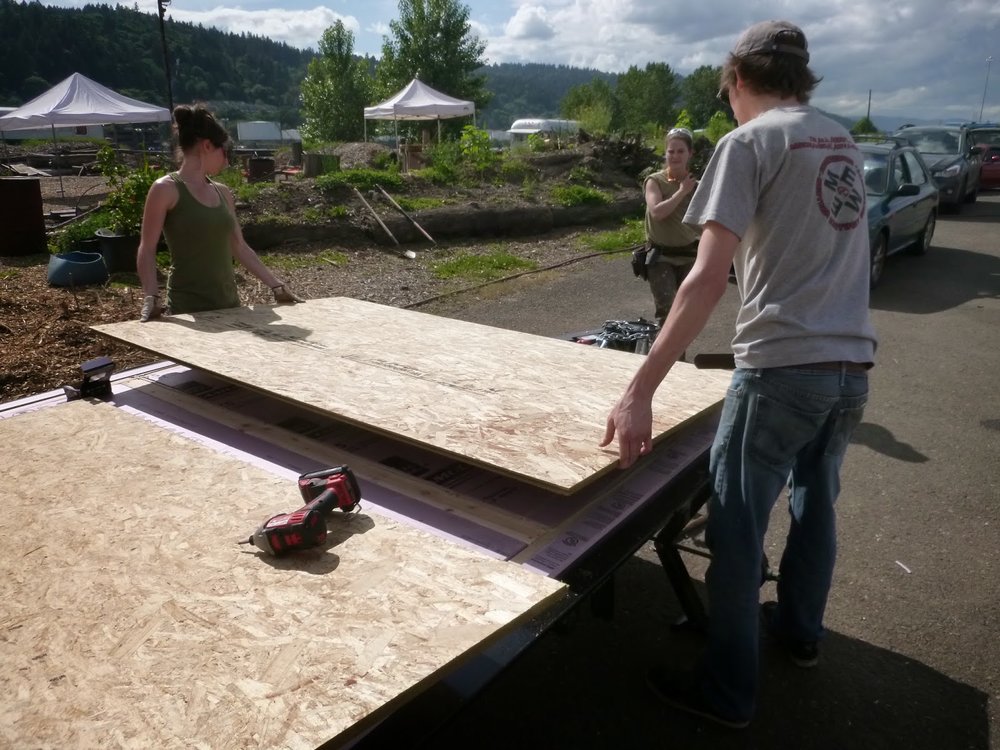
After that experiment, I decided to build a modified floor box. I built two square frames out of 2x6s and bolted them together in the middle. I used 8' pieces of lumber since they are typically more straight than 16' pieces of lumber. I screwed in three parallel and flat 2x4s to the bottom of each frame box so that my undercarriage could have something in the middle to screw into. I did this instead of adding more traditional 2x6 floor joists so that I would have a thermal break from the trailer and undercarriage. After we put the wood frame together, we flipped it over and attached the two 43"x15'7" 26 gauge galvanized aluminum "galvalum" sheets to the frame with sheet metal screws that had neoprene gaskets. I thought the gaskets were a great idea to prevent water from getting in those holes. It probably would have been a good idea to run a bead of silicone on the framing prior to screwing as another layer of waterproofing but that would have been difficult with only two people and a long awkward sheet of metal. I can easily replace the screws as needed since we made sure they would all be visible. We did liberally apply silicone between the seam overlap down the center.
I purchased the galvalum from REM Steel after a tip from Kevin, one of the founders of Green Anchors where I am building. I chose this material because it is lighter and more durable than galvanized steel. It also comes in rolls that I can fit in my car! I had thought about having metal pans built which would have been heavier since they would have been 22-24 gauge. They also would have been several times more expensive ($450) than the galvalum which was just under $100 for the 2 pieces I needed. And I would have needed a truck to haul them to site. Having a truck would be great to have for this build but I am making my Subaru work out fine. And many places will deliver for free or not much money if you order enough materials. That is why I am using new framing lumber instead of searching Craigslist for free or cheap stuff. I think it would be a fun project to use Craigslist to build an entire house so maybe I will have to trade in my car for a truck next year and make it happen!
I left a 1/2" galvalum overhang from the wood frame since I wanted to put a 1/2" strip of rigid foam between the wood and trailer frames for a thermal break and I wanted it to protect the foam. I plan to silicone the seam and check on it periodically to ensure it stays sealed to prevent water from getting in the floor. With the help of Rory, our neighbor who is a metal worker, we flipped the floor box over again (galvalum down) and set it in the trailer. I had allowed some wiggle room since the trailer and frame were not quite square and it fit easily.
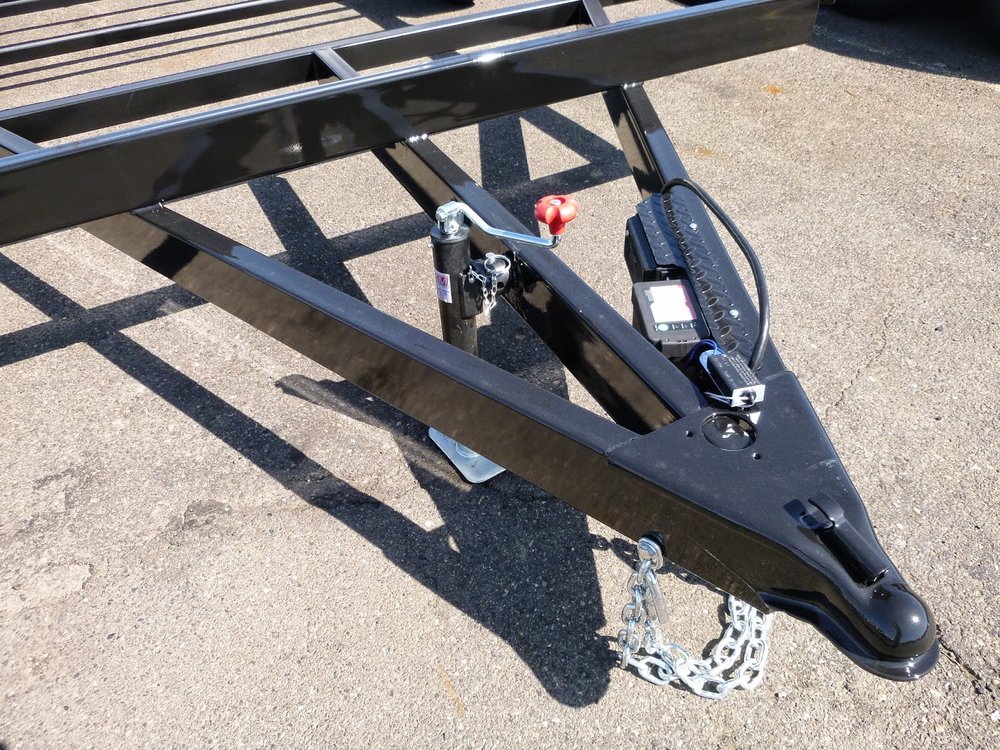
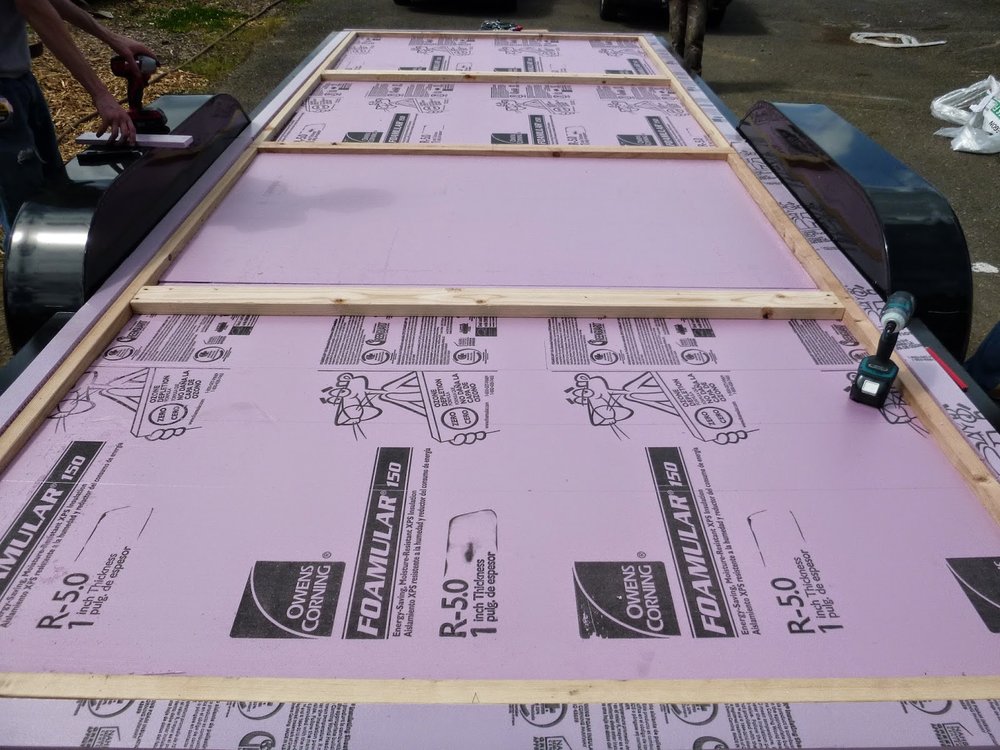
Then, we cut pieces of 1/2" foam for the perimeter and realized I should have left some more wiggle room between the framing and trailer since the foam was more like 5/8" than 1/2". But with pry bars and creative clamps, we made it happen! Since I had Rob drill 5/8" horizontal holes in the trailer for bolting the floor box, I used a spade bit through the predrilled holes to drill through the wood frame and then inserted 1/2" carriage bolts with locking washers. Next, we added a layer of 2" foam between the flat 2x4s, then we cut and installed 2 layers of 1" foam. (Lina and I had to do some foam trading for various reasons and we wanted to use what we had, otherwise this would have been a single 2" layer.)
For the top layer, we installed another flat 2x4 in line with where the subfloor sheets would break so they would have some wood to tie into and so hopefully the floor will not be squeaky due to the foam layers (although many wood framed floors are squeaky due to joist hangers and little or no glue). Then we cut 4 pieces of 1 1/2" foam and set them inside the wood frame. Finally, we cut 4 sheets of Edge Gold subfloor to length and used liquid nails and 2" screws to glue and screw the sheets to the framing. We started with the sheet with the cut off tongue in the front and worked to the back of the trailer, leaving 1/8" gaps for expansion and contraction. Due to these gaps, we needed to cut off 3/8" from the back end which was the approximately depth of the groove. I am glad I chose to go with a 16' trailer and kept the floor between the wheel wells so we did not have any odd cuts to make.
The last steps were to cut more pieces of 1/2" foam to fit between the subfloor and trailer since the subfloor extends past the 2x6 framing by about 2 1/2". This foam continues the thermal break between wood and trailer frames. It also eliminates the need to rip down the 2x6s to 5" to match the height of the tube steel which I thought was unnecessary work. And then to use some Great Stuff to seal up the perimeter.
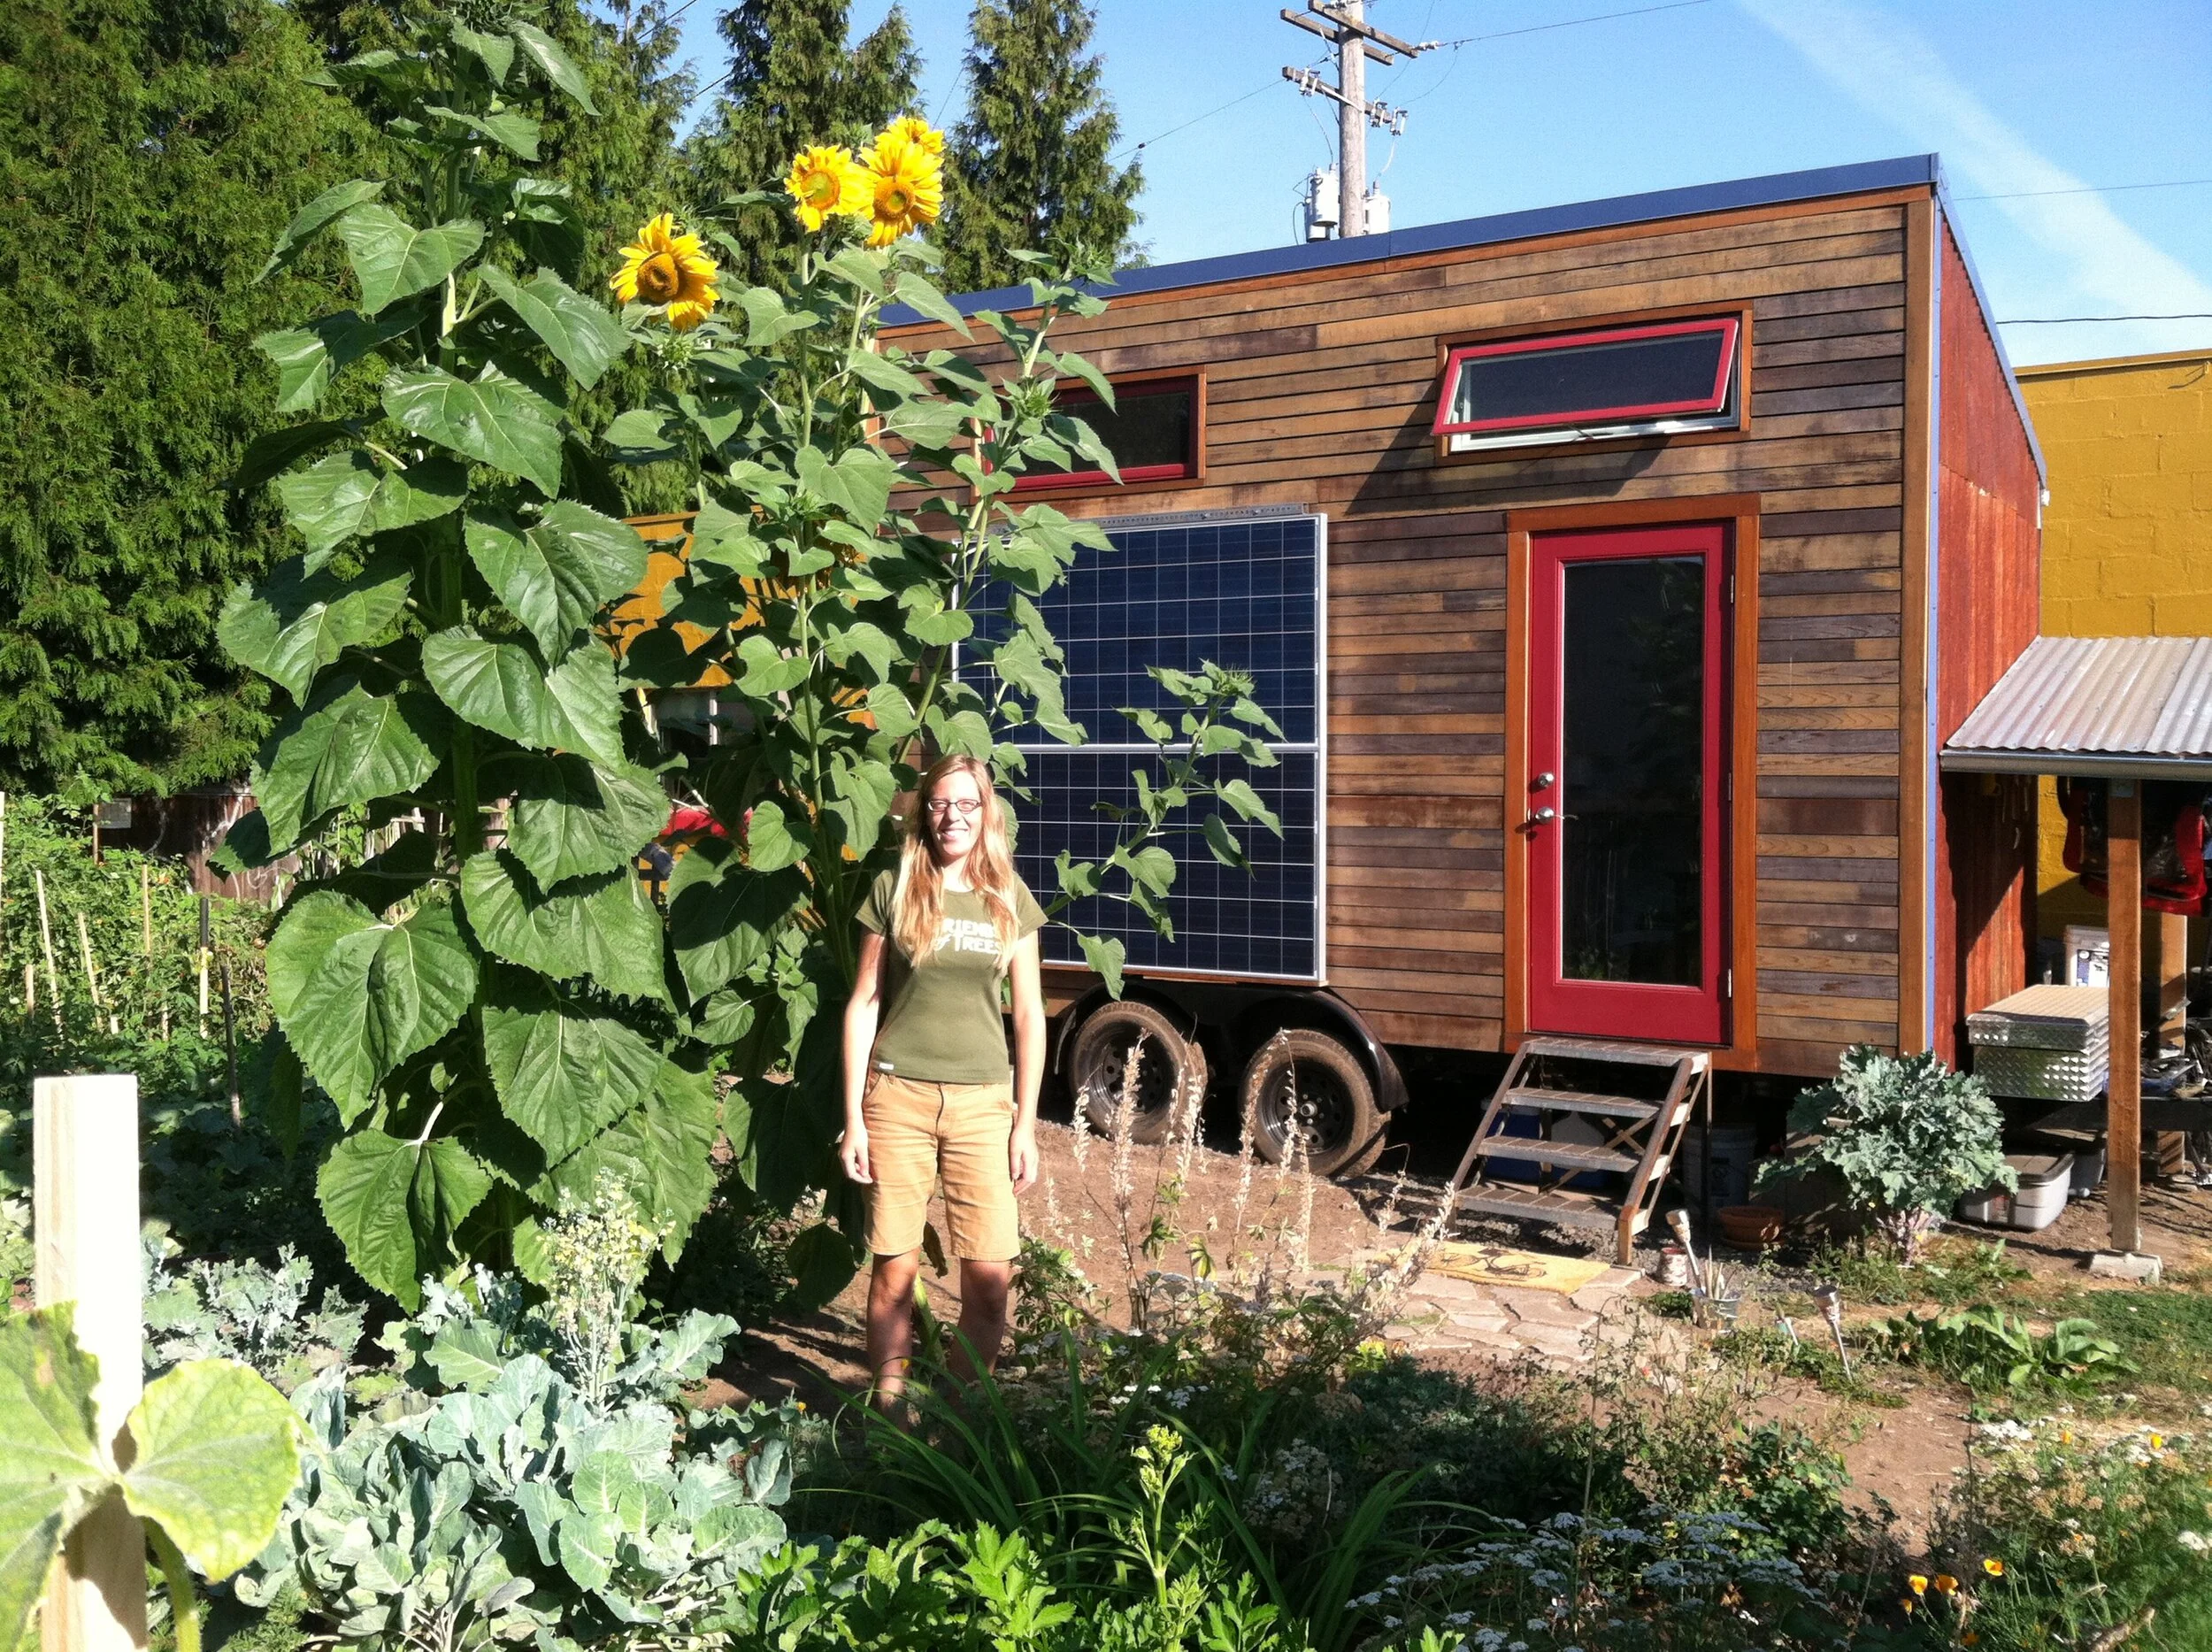
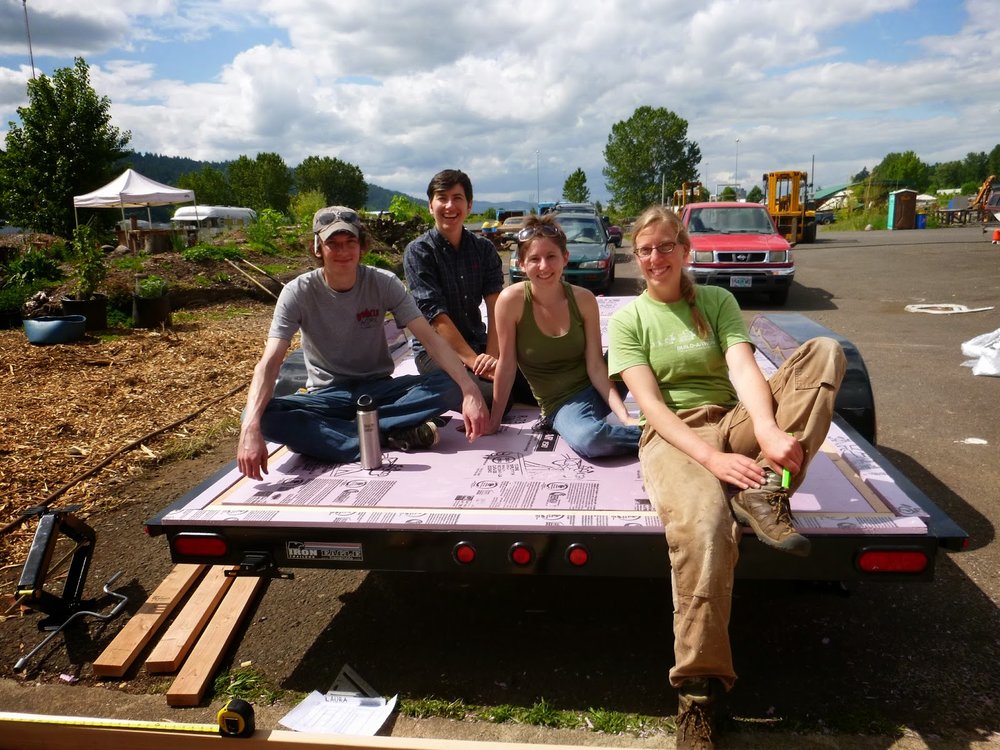
This weekend, we will build and raise walls!
For more photos, check out my flickr!