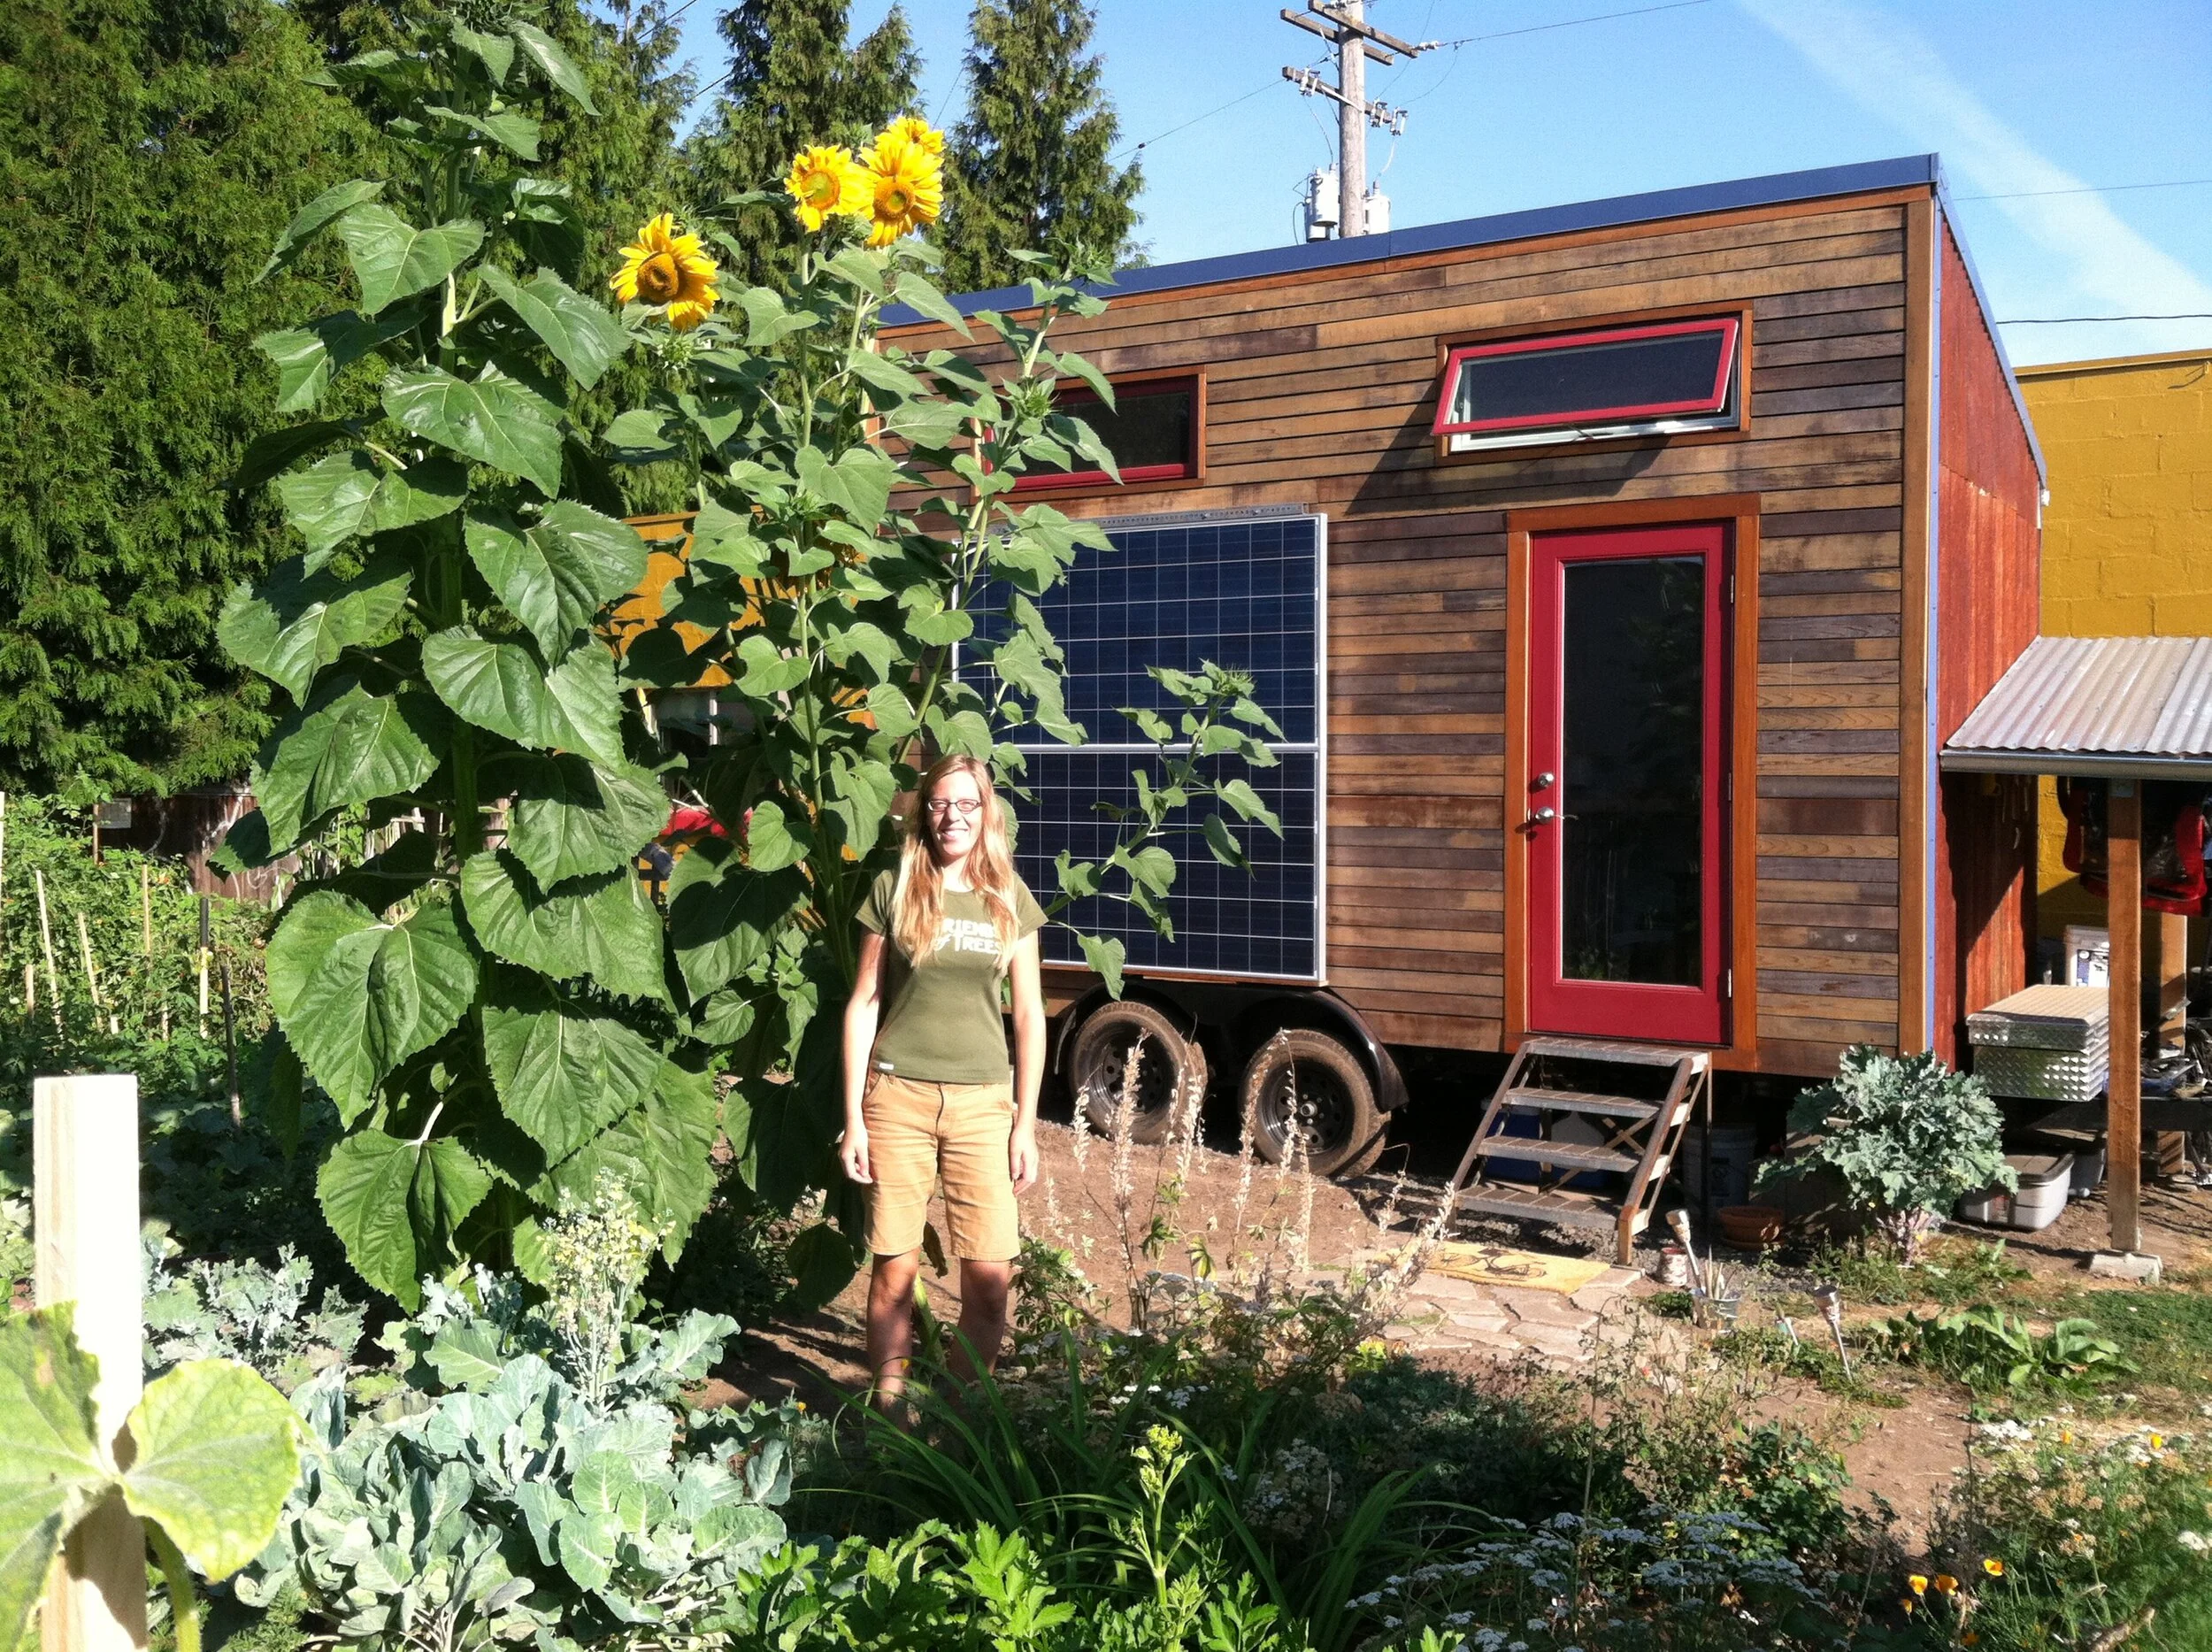
I feel like I have been building non-stop for the past few weeks and have just finally found time to catch up on blog posts since I am now in a waiting game for my siding and roofing materials. I recently wrote a blog post for TinyHomes.com about Building and Self Care which talks about how I have been feeling lately. (And if you are a tiny house builder, I am sure you can relate!) Since then, I have managed to get a Thai massage, go for a hike, ride my bike. pick strawberries at Sauvie Island, and start a work-trade arrangement with Shakti House where I can take aerial yoga classes again!
Most recently, I installed furring strips aka battens for my rainscreen siding system and to hold the Roxul in place since we just temporarily tacked it in with cap nails. Usually, you install these strips vertically to allow water to drain out the bottom and air to enter the bottom and exit out the top creating a drying convection current. I read that it does not matter what kind of wood is used to make these strips, cedar or pressure treated plywood as well as Doug Fir are fine since the goal of the system is to keep everything dry and prevent trapped water which leads to mold and rot. Since I have planned open joint cedar siding on two of my walls, I thought it would be better to invest in cedar ($.36/lin.ft. vs. $.25/lin.ft. for fir) for those furring strips. I purchased Doug Fir for the other two walls where I had planned to install corrugated metal siding since it would provide better wall coverage and prevent more moisture intrusion. I experimented with running the furring strips diagonal on the front wall since I will be running the siding vertical. Horizontal strips would be more ideal but they would trap water. Vertical strips may work since the pieces of corrugated have a 24" coverage which lines up with my studs.
I also installed Doug Fir strips on my roof for under the standing seam roofing which I have heard can be done although they recommend to have a solid continuous substrate to prevent oil canning. I am going to wait to see how the roof installation goes before adding any extra layers to the roof system. For the roof, I needed 4" minimum screws since I have 2" of Roxul up there. Most hardware stores stock up to 3 1/2" so it was a little tricky to source the longer screws. I finally found 4" and 5" lag screws at Tacoma Screw which are a bit overkill for the application, but my metal roof panels will only be attached to the furring strips so they need to have a secure attachment to the rafters. I used 3 1/2" screws for the wall furring strips since the Roxul there is only 1 1/4". The screws secure the furring strips to the studs and sandwich the Roxul in between. Then the siding just has to be nailed into the furring strips.
I also installed Doug Fir strips on my roof for under the standing seam roofing which I have heard can be done although they recommend to have a solid continuous substrate to prevent oil canning. I am going to wait to see how the roof installation goes before adding any extra layers to the roof system. For the roof, I needed 4" minimum screws since I have 2" of Roxul up there. Most hardware stores stock up to 3 1/2" so it was a little tricky to source the longer screws. I finally found 4" and 5" lag screws at Tacoma Screw which are a bit overkill for the application, but my metal roof panels will only be attached to the furring strips so they need to have a secure attachment to the rafters. I used 3 1/2" screws for the wall furring strips since the Roxul there is only 1 1/4". The screws secure the furring strips to the studs and sandwich the Roxul in between. Then the siding just has to be nailed into the furring strips.
I picked up some corrugated metal siding from Aurora Mills Architectural Salvage today which has a beautiful rust patina on one side. I learned that the patina usually only develops on roof slopes, not walls, so while my original plan was to start with new silver colored material and see how it aged, this will be a better option to get that effect. I paid $1.50 a foot which was a good price considering salvaged material tends to be more expensive since you pay for the character and new material would have had to be special ordered at $2.50 a foot.
I will hopefully be picking up my reclaimed cedar siding tomorrow evening so that this weekend I can get to work trimming out my windows, installing corner and fascia boards and then start siding!
For more photos, check out my flickr!
For more photos, check out my flickr!


