For months, I have been trying to figure out what material would be best for my bathroom walls. Since the whole space is essentially a wet bath with a stainless steel shower pan beneath wood slats (the compost toilet on one side will be buffered from moisture with a shower curtain), I wanted all of the walls to have a waterproof finish. I had originally considered using stainless steel as well for the walls but felt apprehensive about the look and feel of so much steel in that space. It would also be a fairly expensive and complicated system to install involving custom bends, bracing and rivets. Many tiny housers use fiberglass shower enclosures since they are lightweight, inexpensive and easy to install. I'm not a huge fan of the aesthetics of fiberglass and those products don't really lend themselves to customization. Fiberglass reinforced panels (FRPs) exist, but after our experiment with them for the floor undercarriage, I was not eager to try them out again. Some people have used cement board, mortar and tile but I had concerns about the tile cracking during moves, also it's a heavier option. I had someone suggest to simply try a thin-set mortar with a latex additive which would be easy to patch when cracked. It would likely have the ability to be tinted but the finish wouldn't be a consistently smooth surface. Someone else suggested using Redguard over Hardie backer but that should only be used as a secondary waterproof surface behind mortar and tile. Others suggested cedar since it would look and smell wonderful, but it can be difficult to clean and I would be worried about moisture working its way into the seams and potentially into the wall cavities. A good solution for a short time was composite tongue & groove decking. It would be easier to keep clean than cedar but the downsides are that it's more expensive, difficult to find in that profile, and usually a thicker dimension (1" to 1 1/2") which would mean loosing some interior space. An interesting solution involved the use of glass or Plexiglas over a colored or patterned surface. The tricky part would be finding a way to attach that system. Finally, someone suggested building the bathroom like a boat with marine grade plywood and a marine grade epoxy resin coating. I liked this idea since it seemed approachable so I purchased some materials from Tap Plastics and did a test on a scrap piece of plywood.
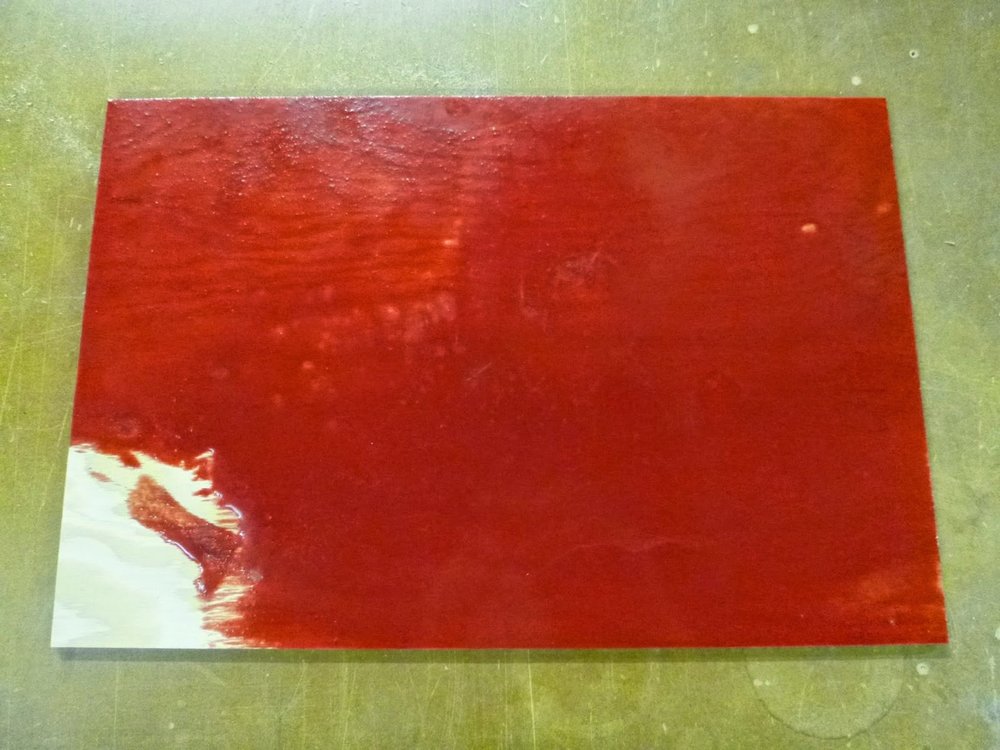
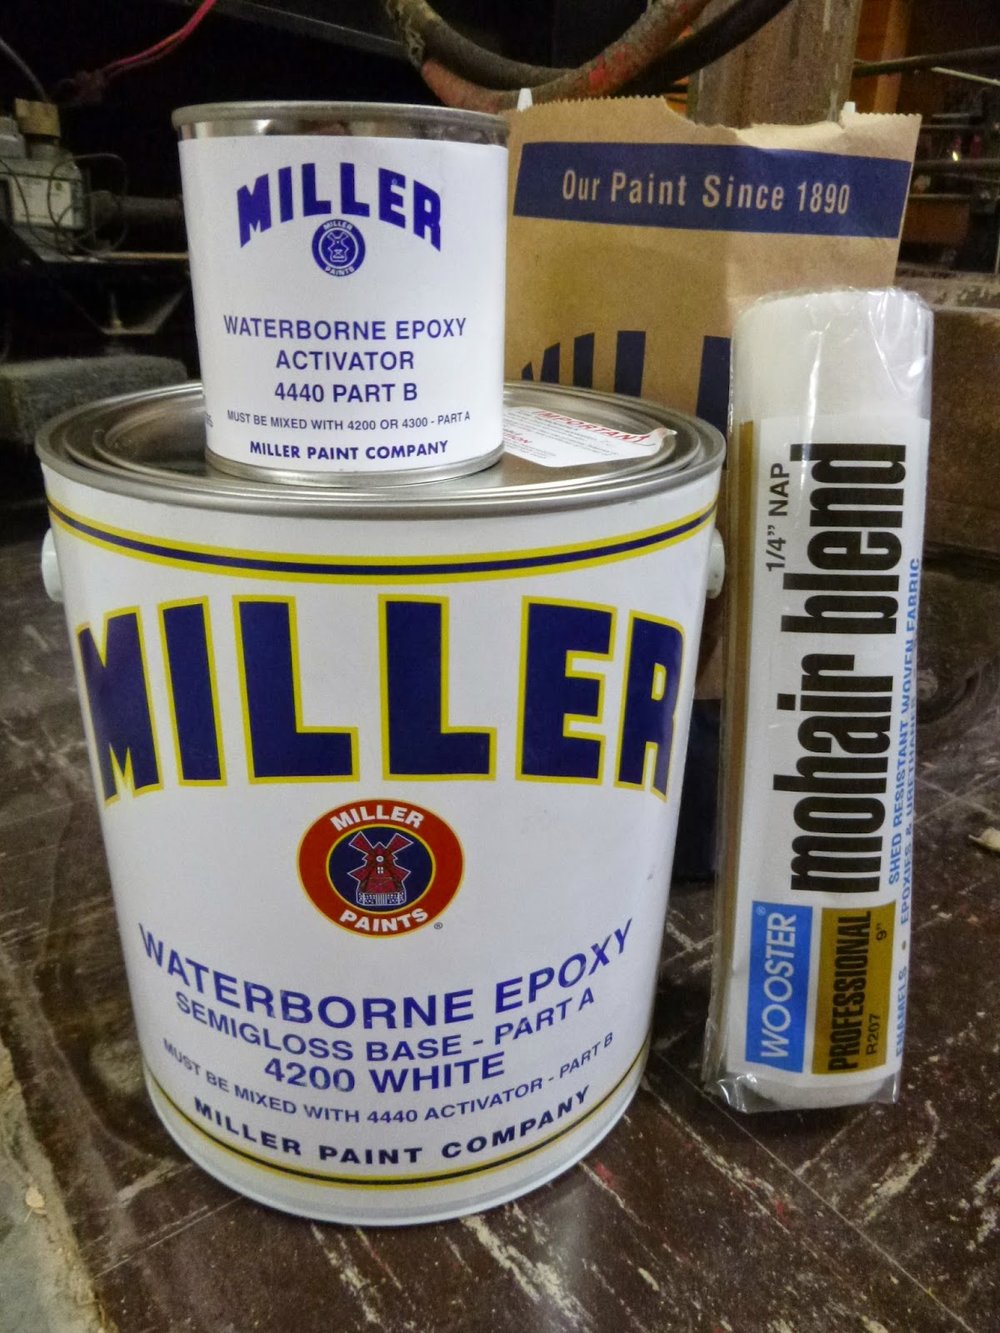
The epoxy resin I used is a two part system with a 4:1 ratio consisting of a base and a hardener. The result is a clear finish unless you tint it with a color which is what I tried. It is somewhat difficult to get a smooth surface when spreading the mixture with a brush. On the test, I tried varying the thicknesses so I could more or less clearly see the wood grain of the rotary Fir. I liked the look of the lighter application but then learned that in order to coat it to the correct thickness with a color, you should not see the material pattern behind. So I could coat with clear to see the wood grain and use the screws for attaching the panels as design features. Then, a friend brought up the idea of epoxy paint so we went to Miller Paint and talked with a salesperson there about the project.
He recommended a waterborne epoxy two part system with a base and activator. They only offered a white base so I would have to choose a lighter color. I liked that idea more than the one about bold red walls. I chose a light yellow with a red tint after spending time going through an extensive paint sample pack. I ended up really liking the lighter color because it helps brighten up that space without needing a window or artificial light.
I looked into marine grade plywood from a few sources and chose to buy some 3/8" from Mr. Plywood which is where I purchased the wood for most of my framing. With the help of a friend, we measured and cut the five panels needed. Since I was trying to conserve material and save money, we used the three cut-off sections from the other panels to make the splined panel for the wall adjacent to the toilet and closet. That option also created a smoother wall surface with fewer visible seams and reduced the need for additional blocking. At the bottoms of the panels, we cut a rabbet on the backside so they could overlap 1/2" of the metal pan upturn. Before installing, I applied a bead of caulk to the rabbet to seal that seam. After installing, I applied another bead of caulk around the bottom perimeter as a double measure of sealing that joint. I used stainless steel screws to attach the panels to the studs and blocking, then filled them with spackle and sanded smooth after hardening.
Then it was time to paint! (I had applied a primer coat in the wood shop next door before installing.) I used a 1/4" nap mohair blend roller cover to apply the paint. The epoxy paint rolled on easily although I was skeptical after the first couple of coats if it was going to be capable of really filling in the shallow grooves in the plywood. Light sanding beforehand may have helped. I was told to apply at least 3 coats, 4 would be better. I had enough paint for 5 coats and a little left over for touch-up, so I figured why not, if only one last thing I would have to find a place to store.
The paint off-gassed more than expected since it was supposed to be low-VOC so I borrowed a small fan to move air around. Unfortunately, this cooled down the space when I wasn't running a heater (because I had the windows open) which made drying less ideal. I alternated between heating the house and ventilating it. A week later, the walls seem like they will be able to withstand water. The full curing time is at least 14 days so I will wait for a little while longer to test them out.
I'll be taking more photos in the next week as I wrap up the trim details and will post them in my flickr album!