
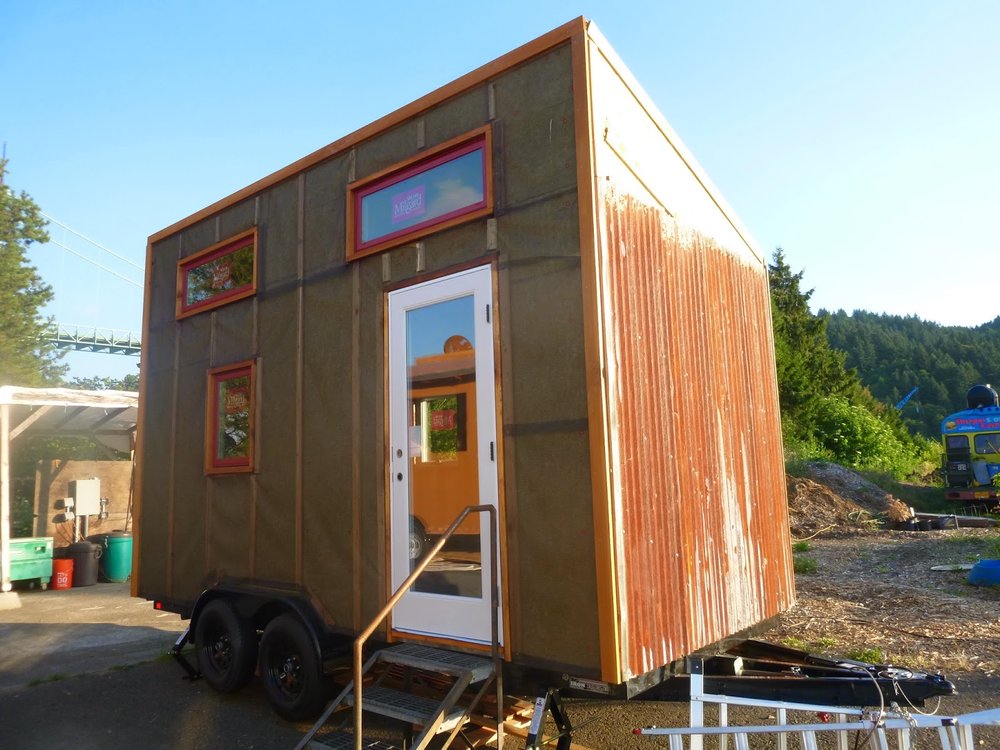
My door arrived on site last week and I was so excited to get it installed! I realized, however, that I had some more prep work to do before I could do so. I ordered a fiberglass flush glazed full lite Codel door with a composite jamb from Medallion Industries because they offered me a combination of good price and customer service. I chose to order a door for a 2x6 framed opening even though my framing is 2x4 but I have an exterior insulation wrap and rainscreen system that thickens the wall a couple of inches. I also chose to go with an outswing door so I would have more space inside and hinges to the front of the trailer which someone suggested would be safer if it happened to open when traveling down the road. I learned that the place where you screw the door jamb into the framing is directly behind the weatherstripping. You just peel off the weatherstripping while installing the door and then cover up the screws when you press it back into place. Pretty awesome. However, with my wall system, the place for securing screws was to the outside of the framing somewhere in the Roxul insulation. So I needed to fur out my framing with ripped 2x4 material. I used cedar since it would be more exposed to the elements and since it is what I am using for the trim and siding on that wall. I originally thought I would trim the door out like the windows, but then realized that it would look better to have flat trim to cover the gap and create a consistent reveal around the door jamb. Since I made the rough opening for the door the standard 82 5/8" high and then learned later that outswing doors are about an inch shorter, I also needed to add some blocking to make the opening shorter. I decided to do this by adding a 2x6 on top of the sill plate since I had trailer bolts I would have to shim around anyway and this was a more solid solution. I'll have to figure out the transition to my floor later since I don't know yet what thickness of material I will be using.
 Once the opening was ready for the door, we moved the door into place, tipped it back to apply silicone under the sill to prevent water from entering, and then carefully set it in place with one person on the inside and one on the outside. To screw it to the frame, we started with the top of the hinge side, added some shims so there was a little wiggle room between the jamb and framing, made sure it was just slightly proud of the outside, and then put a screw in. Next, we moved to the bottom of the hinge side, lined things up, checked for plumb, added shims and another screw. Then we added another screw next to the center hinge. Finally we shimmed, leveled and plumbed the latch side of the jamb and then screwed it in place at the top, bottom and next to the latch and deadbolt strike plates. The woman who helped me is a finish carpenter so she had little tips and tricks to get the door looking good with micro adjustments for the reveals. I am so excited it is in so I can paint and trim it out and then start siding!
More photos can be found in my flickr album.