


This post is going to be a bit of a catch up on what I have been working on lately. In my last post I talked about siding sourcing having finally found a place to buy reclaimed corrugated metal siding. I met with Lewis from Taylor Metal on site yesterday to figure out ordering my roof as well as some install questions. In addition to being very helpful to a novice metal worker, Lewis also asked if I needed more corrugated since he had some he wanted to get rid of. If only I had met him a couple of weeks earlier! Perhaps I will take him up on his offer anyway since I could store it under my house until I build my porch roof or for the next tiny house I build...

I made a couple of trips to pick up some reclaimed cedar siding from a friend. It was interesting to see how much my Subaru's roof racks could handle as well as the looks on the faces of the people I drove past on my way to site. I will probably have enough for the tall long wall, maybe even enough for the short long wall. If not, I'll likely head over to Shur-Way for the rest since they are located close to my house, have good prices on cedar siding and are really nice people to work with.

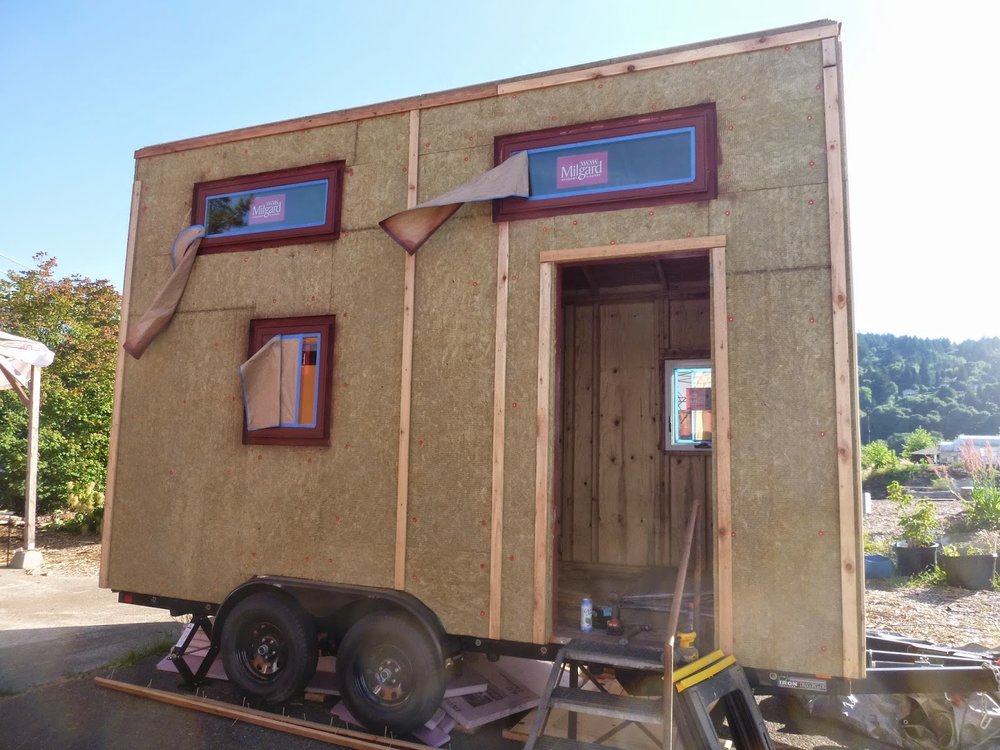
I picked up some 2x4 cedar from Shur-Way to build out my window frames. I had originally planned to install flat trim boards on top of the furring strips but due to the depth of my windows, it would have looked weird so I came up with a new solution. I had to cut back the Roxul insulation around the windows first so that the 2x4s on edge could frame the window. Then I ripped the sills with a table saw to have a 10 degree slope. I made the headers the same way since it was a little beyond the point where I could have installed header flashing as well as for aesthetics of not seeing flashing but still providing a way for water runoff. I cut the ends of the vertical pieces to 10 degrees with the chop saw. Then I lightly sanded, stained with Sikkens Cetol SRD, and screwed each frame together.

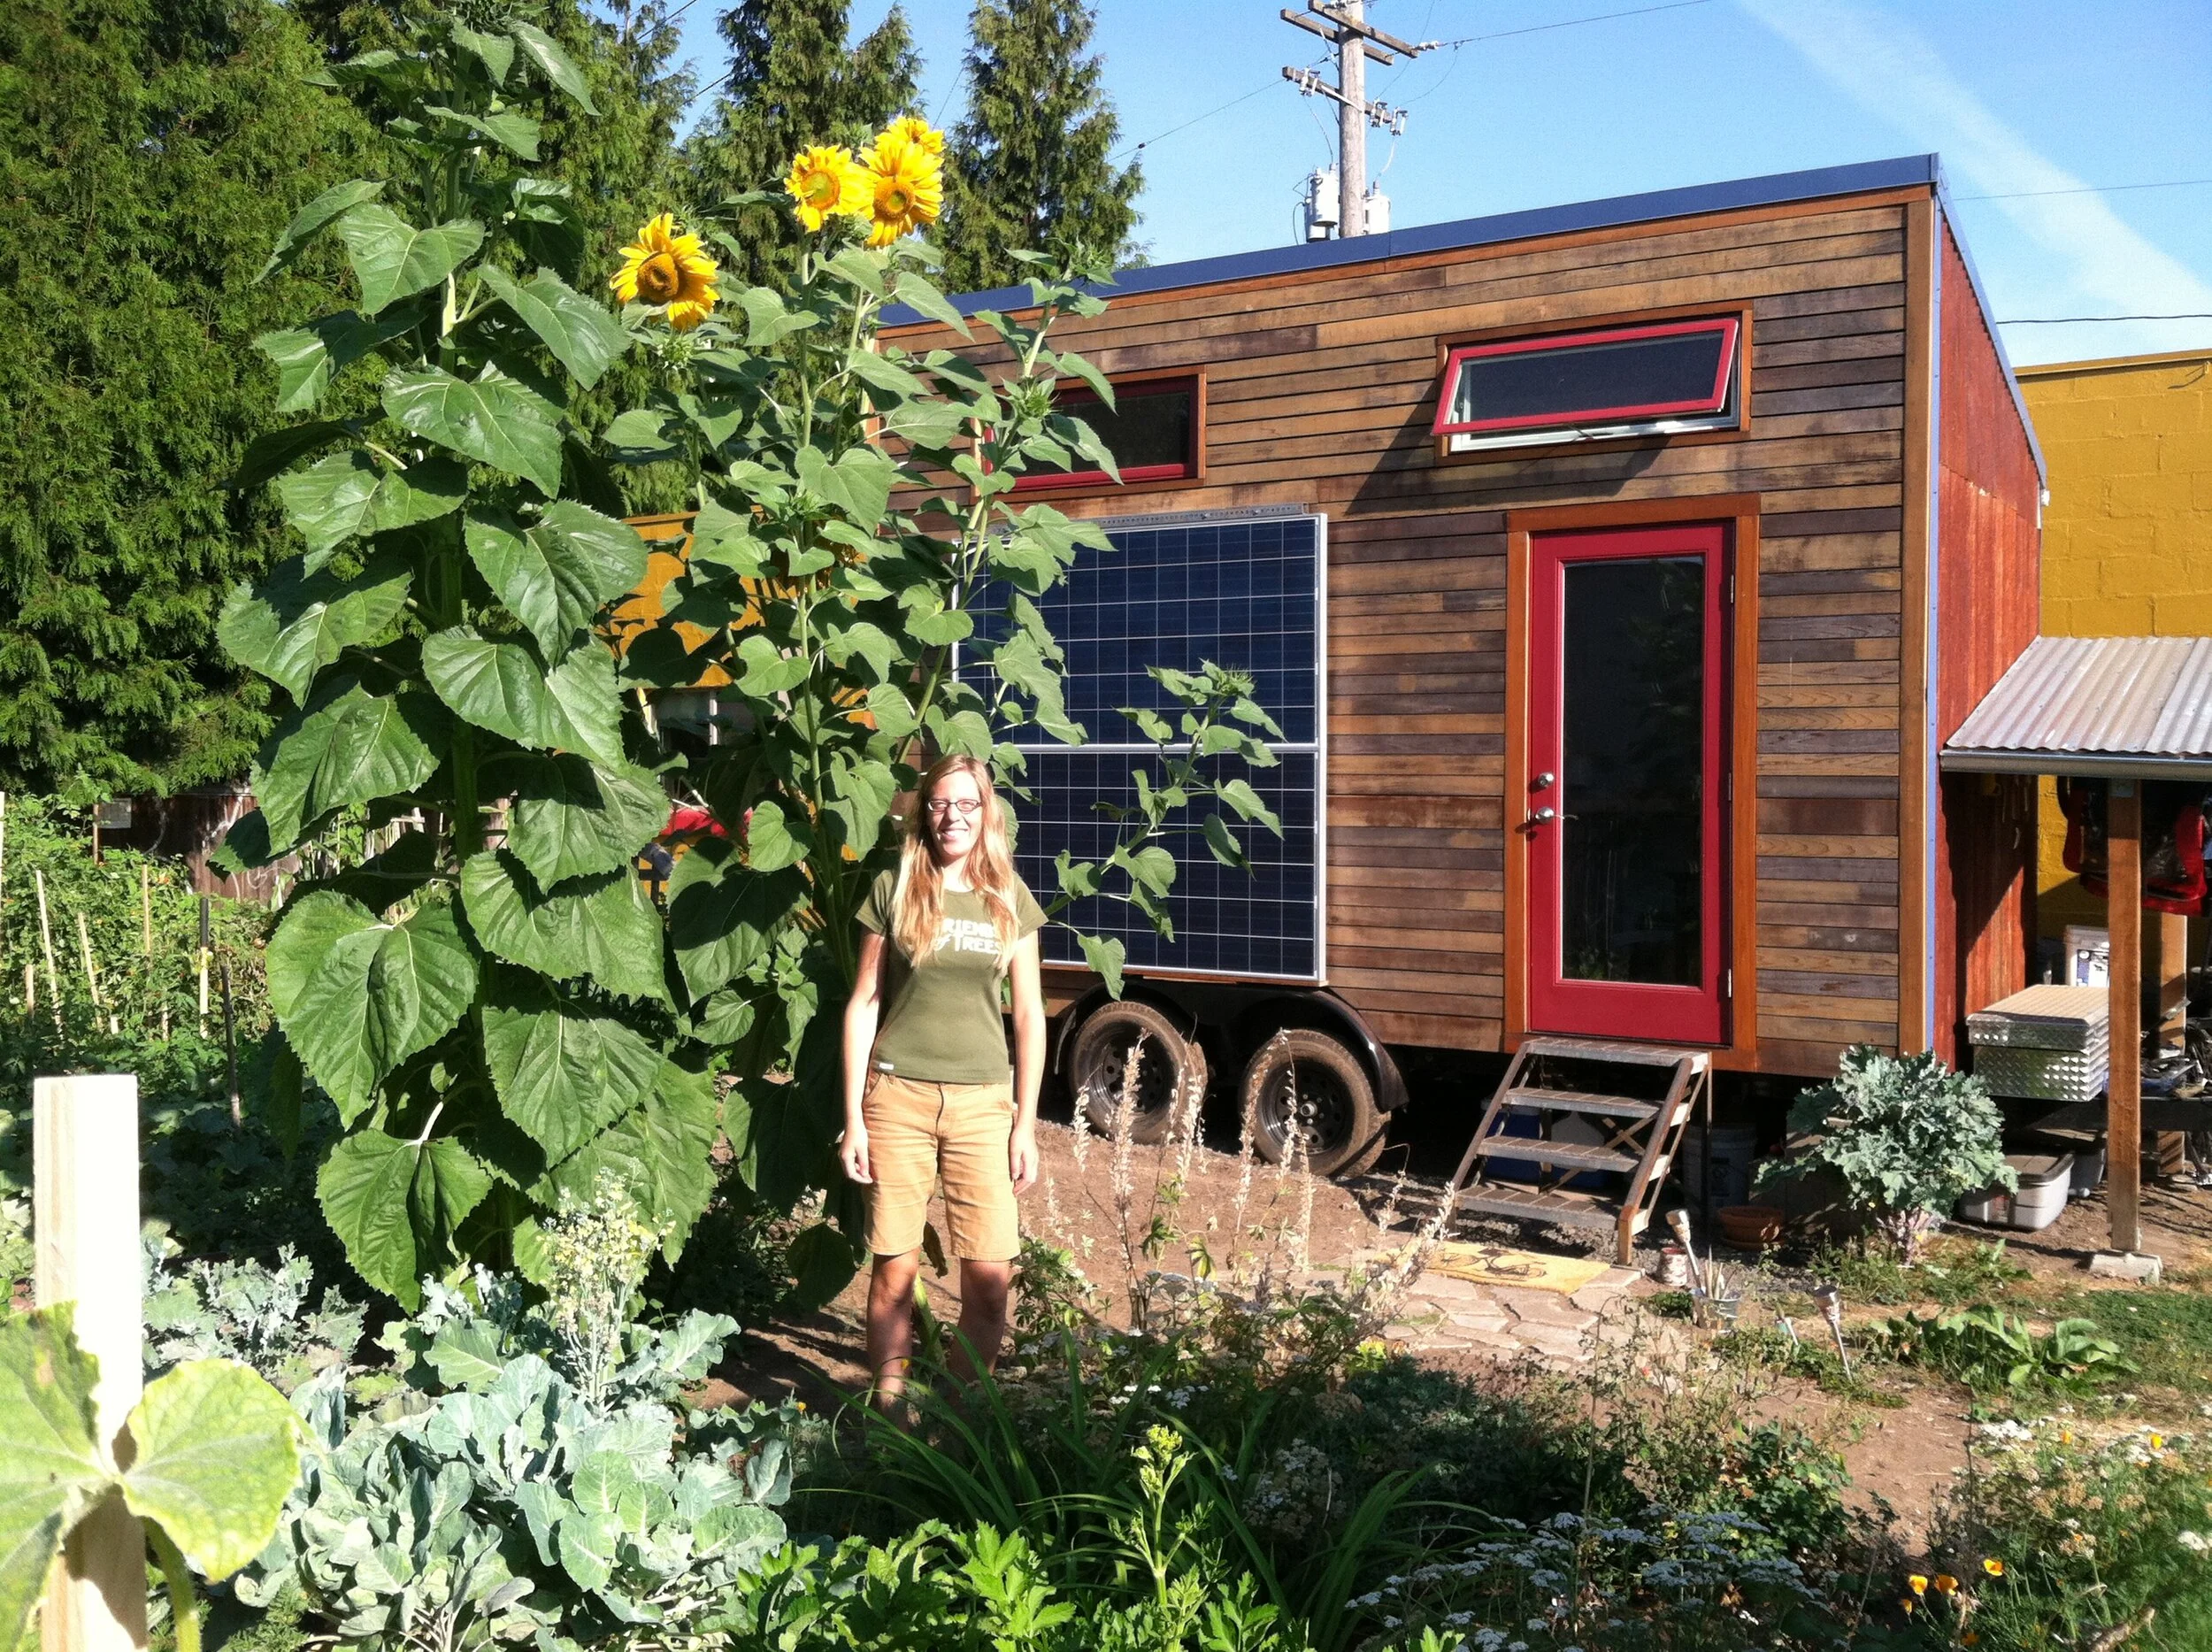
Ideally, I would have face screwed the frames into the studs but that would have required me to also screw through the window flanges which I did not want to do. I thought about finding a way to glue them to the house but learned that was not really possible due to the stain. So I finally decided to screw furring strips to the sides of the frames since I would need them there eventually anyway. Once screwed to the frames the furring strip/frame combo could be screwed into the wall studs. This worked quite well with the help of shims ensuring that the gap between the window and frame was even all around. I was a little concerned about installing the upper two windows, but they actually went in quite easily. I think they look quite beautiful!

I had previously primed and painted the windows after install with spray paint since Lina has been a strong advocate of doing so. I could have painted them before we installed them but then I would likely had to touch them up which would have been somewhat difficult. Despite the wind's repeated attempts (and successes) at blowing off my window masking, I eventually applied two coats of flat red primer and two coats of heritage red paint. I am happy with the results and glad I did not choose the expense of having them factory painted though I may disagree with that decision for the interior.
My door arrived on site this week so I am excited to get that installed and painted soon as well!

We hosted this month's tiny house mixer on site last evening and it was fun to talk to people about their visions, tell them about my house, and play the guessing game as to whose house is larger, Lina's or mine. Mine is only 5 sq.ft. larger if you don't count the loft!


For more photos, check out my flickr!