building

How to Find Wall Studs to Securely Anchor Things

Have you ever needed to hang something heavy on the wall and have trouble finding the wood studs? Well here are a few options that could make your life easier.

  1. Use a stud finder tool: There are lots of brand and style options and none seem to always be consistent at finding the studs but they are a good starting point. Mark these locations.

  2. Knock on the wall to locate the hollow points (areas between studs) and the solid points (the studs). The hollow points will sound more echoey. Mark these locations.

  3. Once you have tried steps 1 and/or 2, grab a drill and 1/16” drill bit and drill a small hole where you think the stud is located. If it pokes through easily, try again. If it keeps drilling into something solid, you likely hit the stud! Check for wood shavings as you back out the bit.

  4. If your anchor points don’t all match up with the studs, use drywall anchors.

  5. That’s it!

How to Buy a Tiny House

Hello, what crazy times we are living in! With our personal experience designing and building a tiny house on wheels and living in an RV while building our off-grid homestead, we have been getting more and more inquiries from those of you interested in downsizing and hitting the road or buying land and building your dream home with lots of interest in community living. We are ready and excited to help you get going on that path whether you are going to do it all yourself or may want to hire a contractor. We will be creating a series of posts to help you figure out how to get started on this journey so feel free to follow along and ask questions!

Today I wanted to share an article about How to Buy a Tiny House that Lexi of Redfin wrote and thought would be helpful in learning about financing, selecting property and buying or building a tiny home.

Here are a few things we would add based on our experience.

  1. If you want to find a small home on land, search for tiny homes on Redfin up to 1,000 square feet as homes under 500 square feet may not yield many search results.

  2. Vacant land may or may not have any utility improvements such as power, water, sewer or septic. Talk to local utility companies, well drillers, etc. to estimate what these might cost to install. For our property, a well and utility power connection are estimated at $25,000 EACH! You can haul in a lot of water and buy a whole solar energy system for that cost.

  3. Many people use personal savings to finance their tiny home.

Bike and Tool Shed

Happy Spring! Today I spent the morning at my volunteer gig with Friends of Trees, a local non-profit that brings the community together to plant and care for trees. We prepped for tomorrow's planting events of which I will be crew leading at one in a nearby neighborhood. So much fun! Then I walked back to my house and worked more soil to prep it for planting some native plants. I had already prepped and planted a section of the garden for some vegetables and yet another section awaits to be worked over. It's pretty exciting to see the garden transformations over time, especially after all the time spent pulling out weeds...especially the morning glory. For two people living on this site, there is abundant space for gardening which is why I am going to introduce some native plants and ground covers to lessen maintenance and to enhance aesthetics. Native plants are awesome because they adjust to the seasonal variations we experience, growing in wet, dry, cold and hot conditions without much help once established. The area I am creating will be outside my front door across the path so I will get to see it as I come and go.

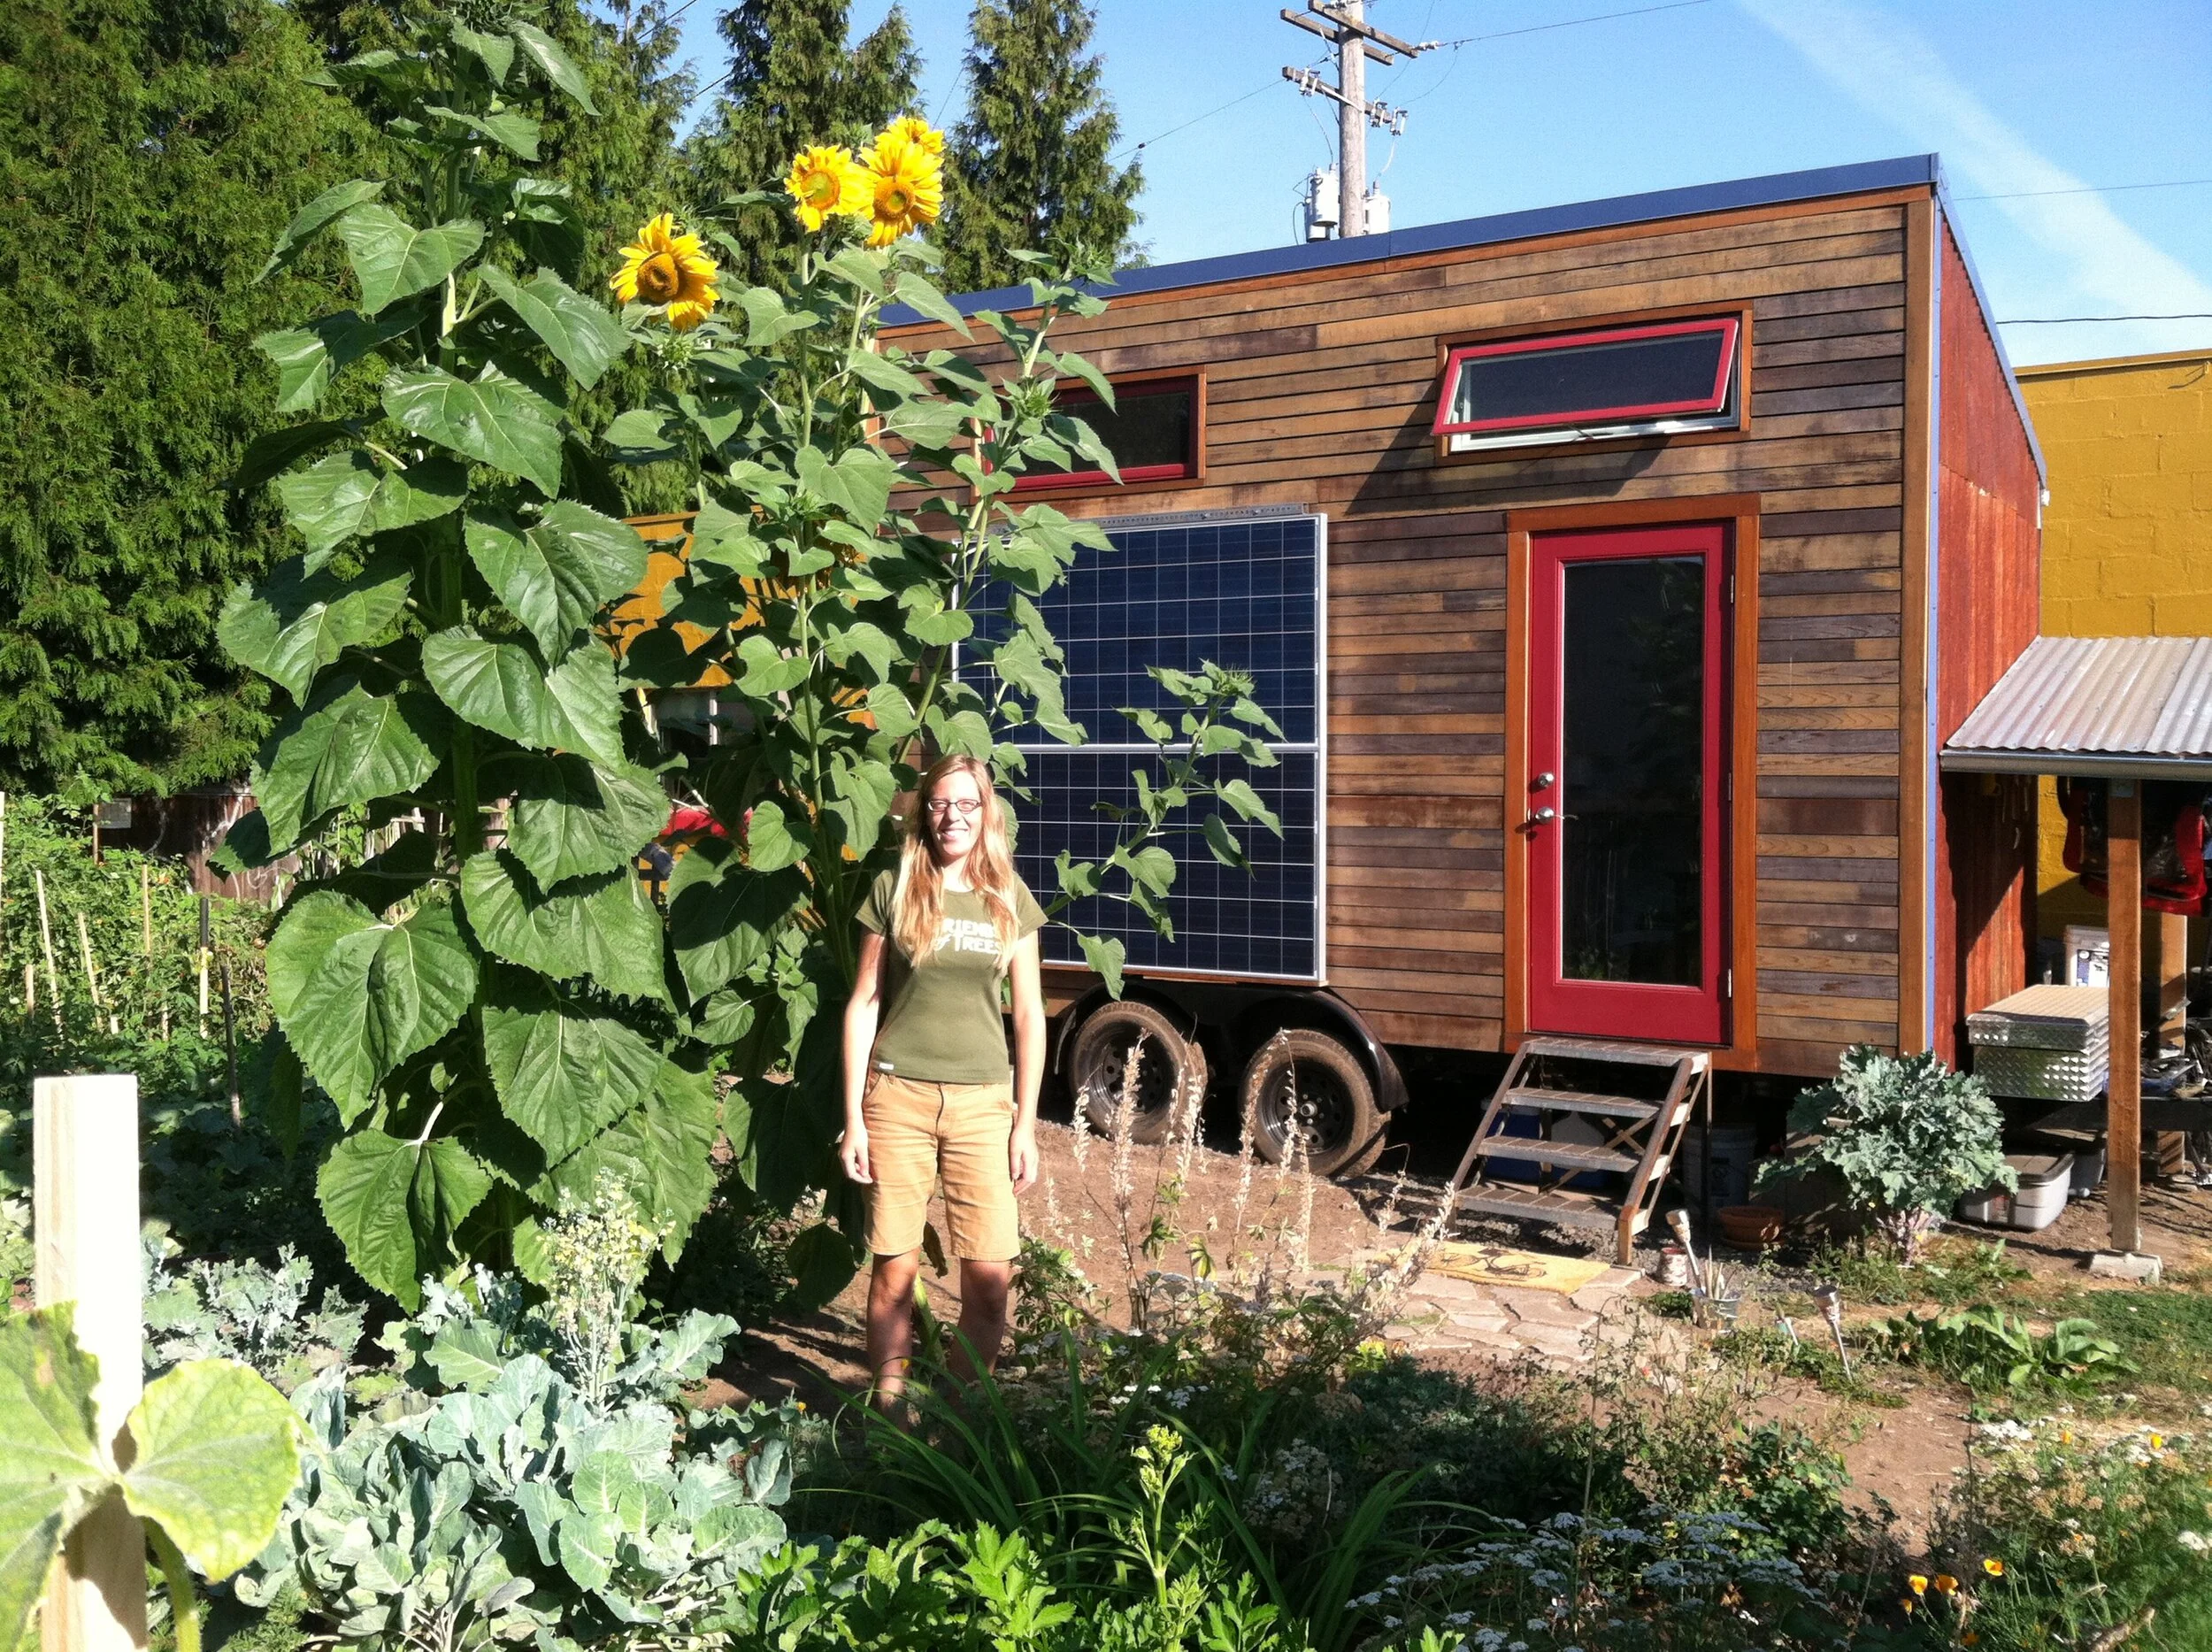
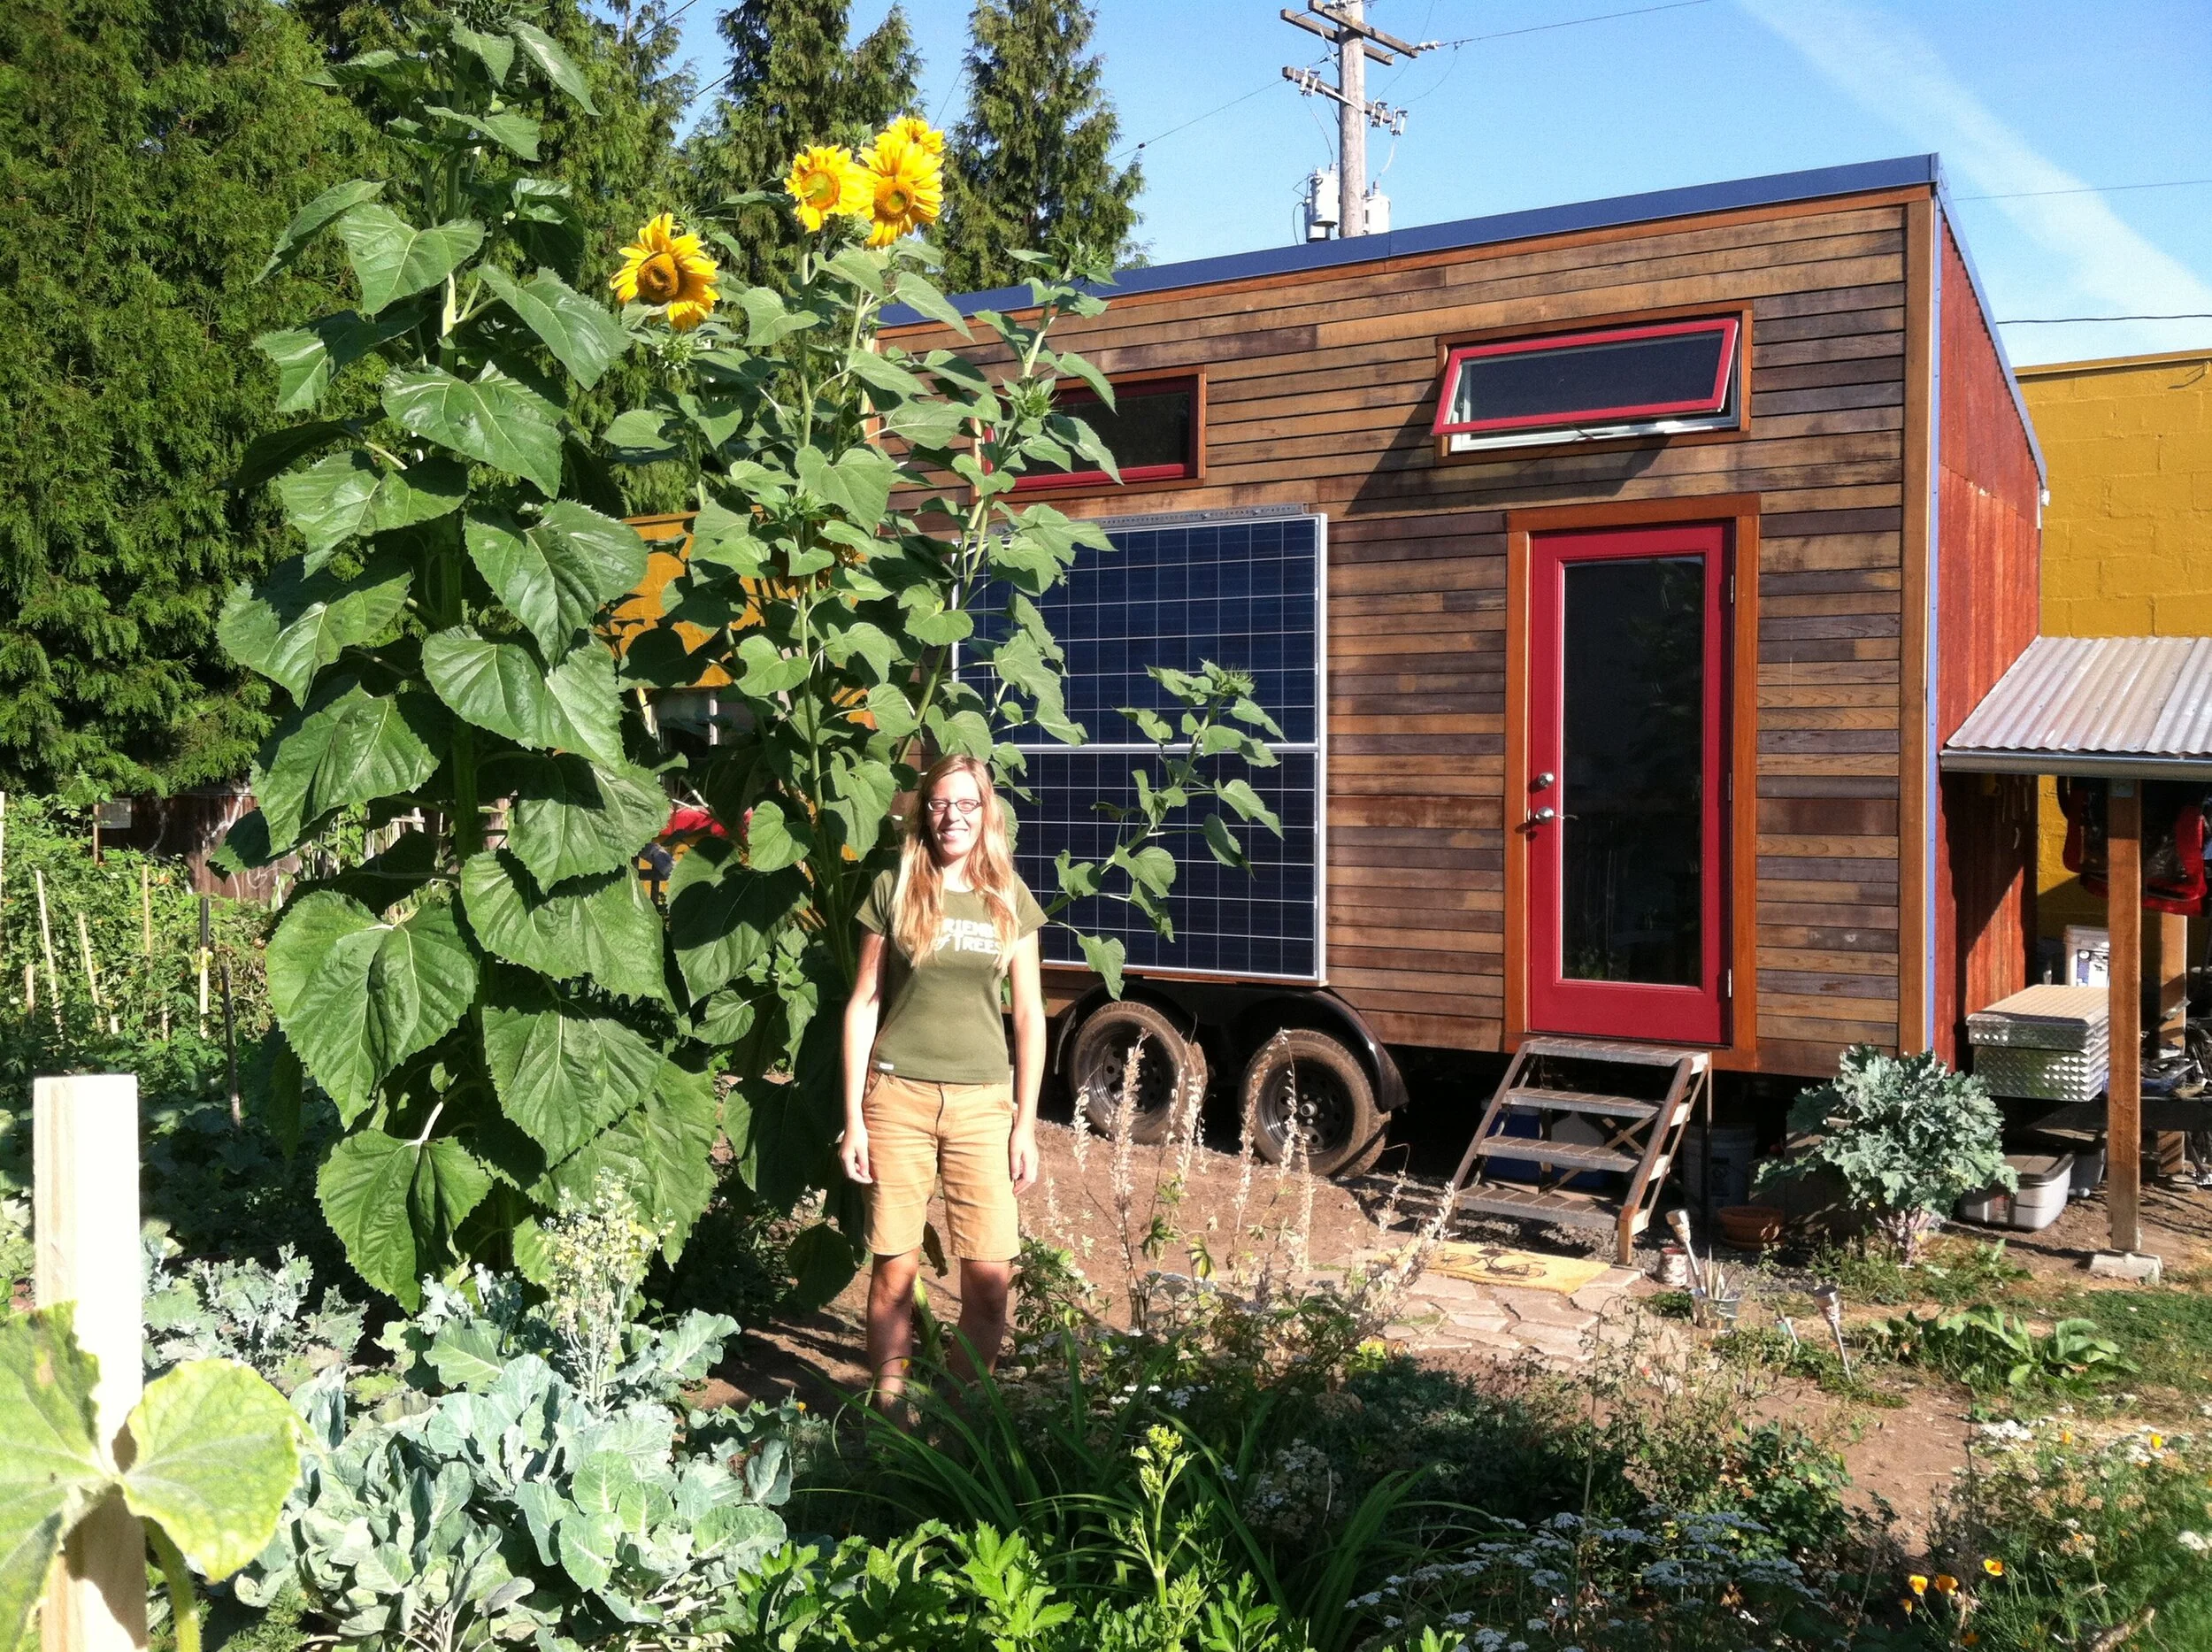
Other than gardening, I built a small shed for my bike and tools over the tongue of my trailer. I used pier blocks as the foundation since they had worked well on our utility shed. I picked up cedar 4x4 posts and some cedar 2x4s from my favorite building materials place, BMR, along with some really cool old saw blades which I'm going to be using for my reclaimed wall project eventually.
I picked up some nuts, washers and bolts along with a couple of Simpson hardware brackets that I could use to attach the posts to the roof structure with bolts. Awesome find! I wanted to bolt the separate components together so that I could more easily take the structure apart for transport and reassemble. The pier blocks bolt to the posts which bolt to the roof structure. It's probably possible for one person to do themselves but for safety and ease, I enlisted my yardie, Eric, to help me with assembly.
But then I'm getting ahead of myself...Once I had all of the materials on site, I prepped the places for the two pier blocks by measuring off the trailer and house the desired distances and then digging out a shallow hole for each. I filled them in with a few inches of gravel, set the blocks in place, leveled them together and then continued on with the posts.
Since the posts were rough cut, I needed to notch each to receive the 3 1/2" wide post bracket. I've been getting pretty good at cutting with my circular saw so I used it to make the notches. It was a little bit tricky since I had to cut from both sides and then once on the face but it worked out just fine. I cut one post to 6 feet and the other to 8 feet and then 7'6" so it would closer match the slope of my house's roof.
I set each post in place to mark the location of the bolt hole then removed the posts and drilled the holes with a spade bit. I lined up the other Simpson brackets on the top side of the posts, drilled a hole for each and then attached them with the bolt, washer and nut. Next, I set the posts into the pier block brackets and bolted them in place.
To start the roof, I cut two 4' lengths of 2x4s and set them into the top brackets to mark and drill their bolt holes to temporarily position them in place while figuring out the slope. I braced a 2x4 to hold the posts the same distance apart as the pier blocks so they were plumb. The distance was shorter than 8 feet so I rested a 2x4 on top of the other 2x4s to mark the angle cut. Once I made the cuts on the two rafters, I test fitted them and then unbolted the two ends to put the roof structure together. I cut two 2x4s to place at approximately 24" o.c. to support the corrugated tin I had found for free on top.
I screwed the 2x4 frame together, squared it and then attached the corrugated tin with gasketed screws. When that was complete, we lifted it into place and secured the bolts. I added a couple of screws to attach the back 2x4 to my house so it would have a little bit more stability. 
Materials for this project cost $38. I found a used truck tool box on Craigslist for $140 so I U-bolted that to my trailer and packed in my tools. It's really great to have the extra floor space inside my house!