
I feel like I'm in architecture school again. I'm in that final stretch of working on my project to get it "done enough" for the final review with late nights in the studio after days of classes and work. Not getting enough sleep or proper nutrition or doing much of any self care. In college, I was able to pass out for hours, days after the review. I wish that were the case this time...
 If you haven't guessed yet, I'm getting ready to move my tiny house to its next location and start living in it while I continue the finish work. May as well keep in the tradition of other tiny housers. I had really wanted to get the plumbing and electrical in by the time I moved, but realized that I needed to take care of the trim, flooring and shower pan first. And my new site isn't quite ready with plumbing and electrical hookups anyway (I'll be helping install them). So it will kind of be like camping which is great since I didn't have the time to do that this summer.
 After trimming out my windows, I decided to start on the floor. I had picked up some 1x4 Doug Fir T&G flooring from BMR (can you guess one of the themes of my home?) when I bought the trim. I had a friend start helping me install the first few rows of flooring. We started against the wall with the door since I wanted to pick out the clearer pieces to use for the main path first. We needed to notch out the pieces around the wheel well, but that was not too difficult to do with a table saw and jigsaw. We ran a bead of construction adhesive on the floor under each piece and then nailed four 2" 18 gauge nails through the tongue of each piece to secure them to the subfloor. Once the first row was set, the next went faster. We staggered the seams in each row and made a three row pattern. Looking at it finished, I kind of wish we had done more staggering but that would have been difficult to do with boards that were only 3' long.
 I continued working by myself for the rest of the floor, carefully selecting each piece of wood since they were seconds (but cheap at $.50 a foot for CVG or close to it!). Once I had all of the pieces in place, it was time to sand. I thought I would need to use a portable hand belt sander. In larger spaces, you can rent those large drum sanders, but I didn't think it would make sense for my house especially since it wouldn't fit under the sink or loft ladder. It was dark outside while I was sanding and so I sanded under two work lamps. The belt sander is a powerful tool, one that took away more material than I realized until I had made three passes with 80, 120 and 150 grit sandpaper. It had created some small (but at the time seemed large) gouges in the floor. I decided to use an orbital sander to try to even them out and made some progress but realized I should have just used that tool from the start. I had been frustrated from shower pan stuff (see below) and I just didn't really know what I was doing so messing up the floor a bit was annoying as well. But people pay good money for the reclaimed look and now I won't be as worried about marking up the floor. After the sanding, I added 3 coats of satin Zar Ultra Max waterborne oil modified polyurethane as recommended by the guys at Woodcrafters.
 Meanwhile, Rory was working on my shower pan. I took the measurements, handed Rory my drain and he ended up bringing them to Schmeer Sheet Metal so get the pan made since they have a larger brake than Rory does. They used stainless steel as the material. I'm not really sure of the whole process since I wasn't there but they did a great job because it fit in the space! If I did it again, I would get the pan made and then frame the wall around it. Kevin, the other welder on site, had told me to put the wall in first so we could get the pan measured, so that's what I did. I had thought they messed up with the hole size since it was one of those days so Rory's dad made the hole a little larger. Then I realized that the drain actually attached a different way and the cutting was all for nothing. Luckily there is still about 1/4" of material around the edge which should be enough for plumbers putty. I'm going to silicone caulk around the edge too.
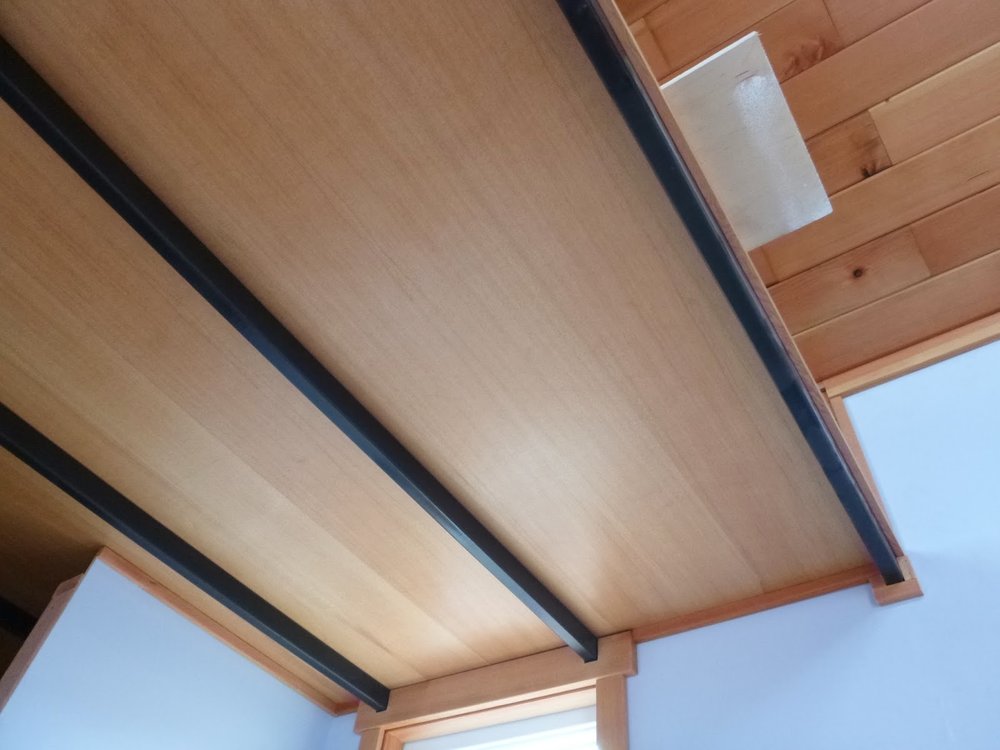
 With all of that happening, I was also cutting, sanding, coating and installing my door, crown and baseboard trim. I have learned that trim prep and finish work in general takes a long time, especially if you are only working on it nights and weekends.
 I haven't been taking many photos of what I've been up to since it's crunch time but here are some of the trim, flooring and bath pan ones in my flickr albums.