


One of the projects this past week was cutting, sanding and clear coating my Doug Fir loft ladder treads. I found the material at BMR where I found the Fir for my ceiling and loft walls. Rory, who welded the steel support structure, thought it might look interesting to start with shorter treads at the bottom and make each progressive one 1/2" longer to the top so they would create a slight angle and offer more support at the top. I thought about this idea but decided I would rather them all be the same length. It was beneficial to have the steel component installed for some time before deciding on the tread length so I could figure out how long they needed to be. I decided to cut them to 16" since I wanted to overhang them a little out from the steel supports which are 14" long.
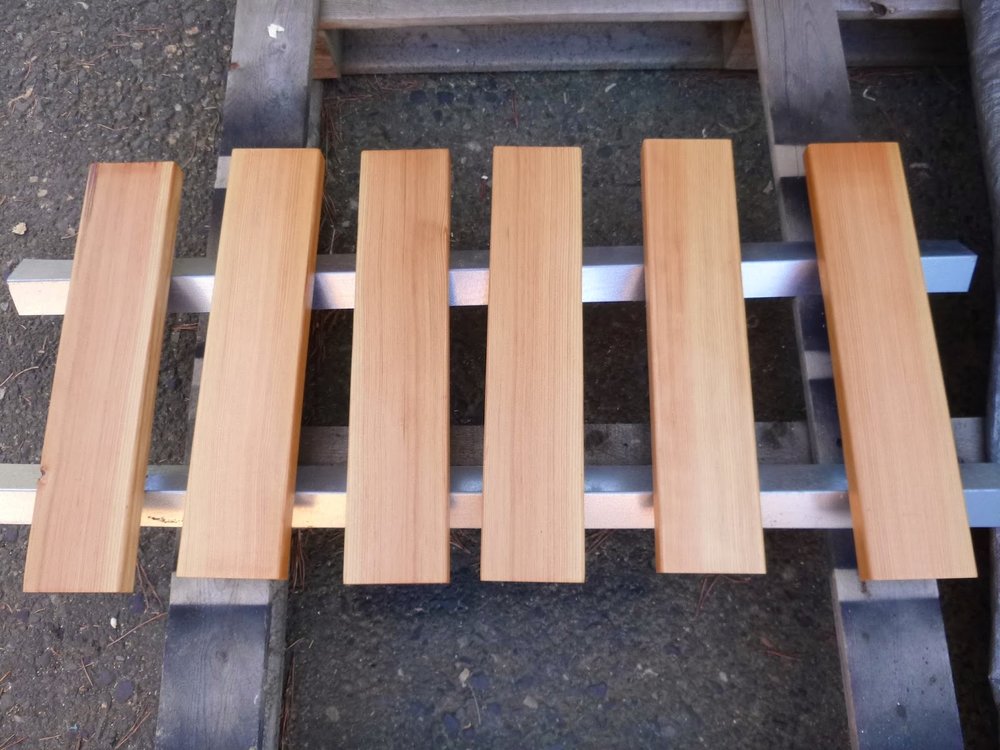 Once I cut the treads to length, I sanded them with 100 grit and then 150 grit sandpaper. Then I applied a coat of General Finishes Arm-R-Seal oil and urethane topcoat which I used on the loft floor and ceiling/wall T&G Fir. This finish is not meant for heavy traffic but I figured I would try it out for the treads since I do not plan to wear shoes when climbing up there. The other option would be to use a flooring finish but since I don't have that material yet, I am waiting to figure out what I will need. After drying, I sanded them with 400 grit sandpaper and repeated the process until I had applied 3 coats.
 For installation, I decided to leave a space between the end of the tread and the wall since I need to add a piece of trim to cover the gap between the wall board and the diagonal steel support and since the weld joint would require either sanding or a mitered corner. I used a piece of 1/2" plywood as a spacer both for the wall gap and for the amount of overhang on the face. The treads are 5/4"x4" nominal so 1" x 3 1/2" actual dimensions and the steel surface is 2 1/2" which makes for a 1/2" overhang on the front and back of the tread. I used clamps to hold the wood in place while I drilled holes for the screws into the bottom of the tread.
 I drilled one hole on each end first and then drove a screw in to set the tread in place. Then I removed the clamps, drilled and drove in the remaining screws. I used #12 x 1" sheet metal screws which is the same diameter as I used to secure the diagonal support and loft joists to the walls. Rory had thought about adding a piece of steel on the top of the horizontal steel pieces to create a key which would require a channel routered into the wood that would in theory keep it in place better over time. I decided this added extra steps to the process that I didn't feel were necessary since each tread has 6 screws so they should be set and I can always replace them over time if needed.
 It's so rewarding to see this idea come to fruition. Yay design/build! For more photos, check out my flickr!