Bat House Workshop @ Tum-A-Lum Lumber

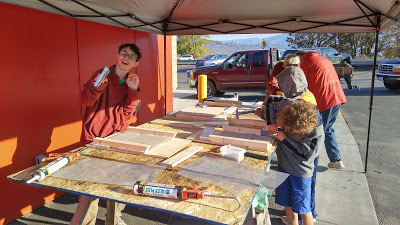
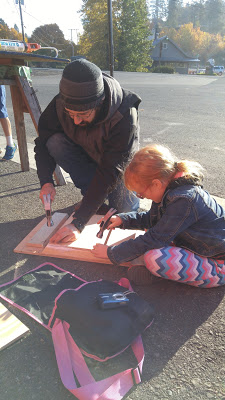
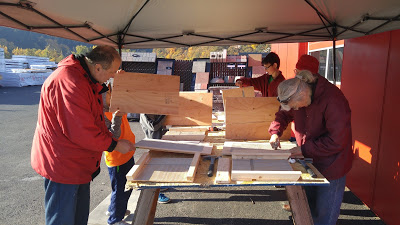
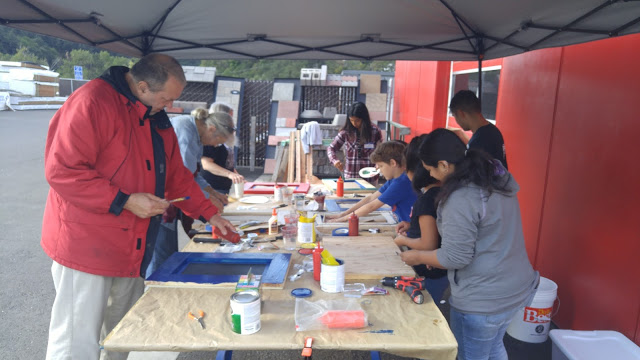
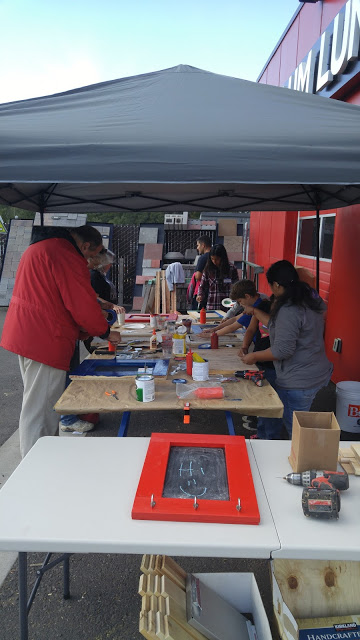
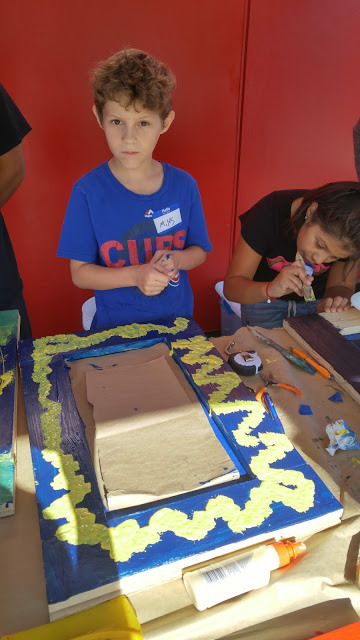
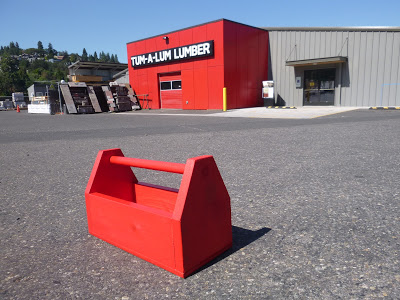
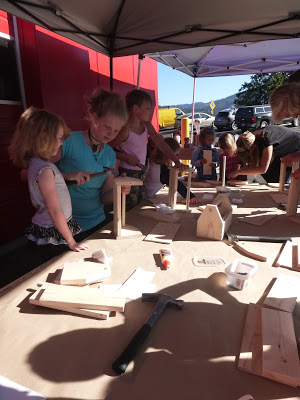
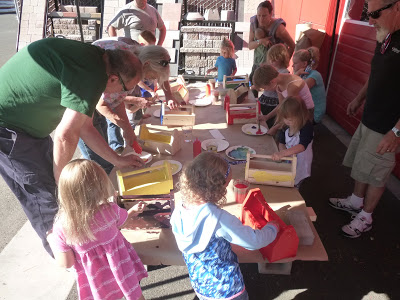
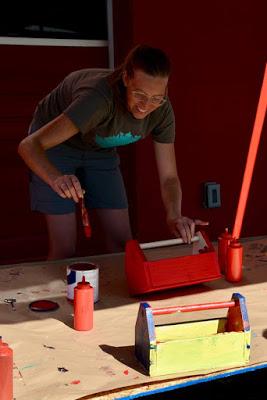
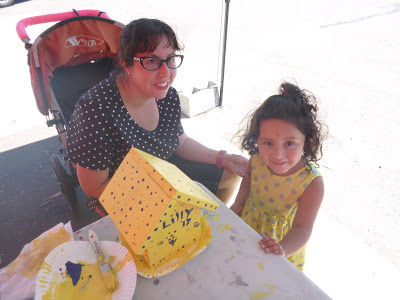
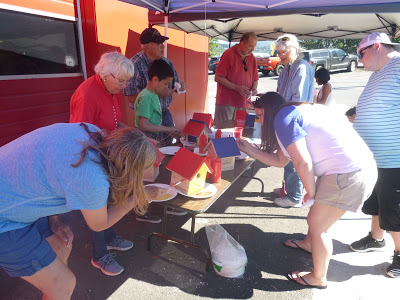
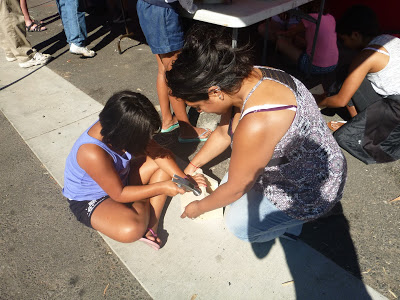
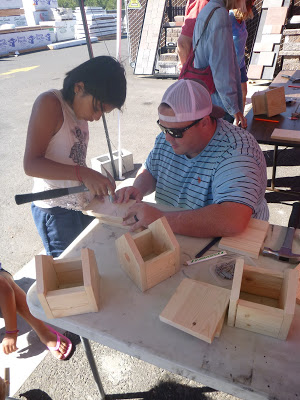
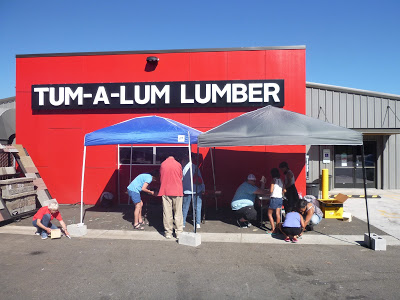
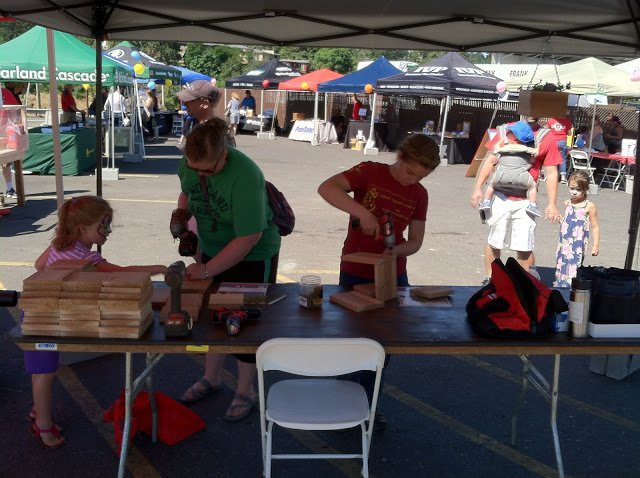
Today we offered our 4th workshop in partnership with Tum-A-Lum Lumber. This time we made bat houses for Halloween on a beautiful fall day! Attendees were a mix of regulars and new faces which was great. See photos below and stay tuned for a DIY How-To Guide coming out this winter!

A few notes on building a successful bat house...

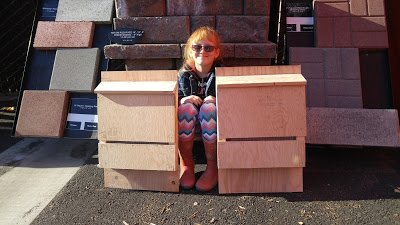
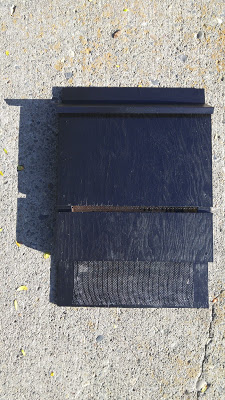
Size: 14" wide by 24" tall is the recommended minimum, depth can vary depending on number of chambers and size of bats that will use the house. The one we built has a single chamber.

Design: Must have an exposed landing pad at the bottom, 3"-6" tall is recommended. Both interior surfaces should be rough so they have something to grab onto. We used wire mesh for this. All seams should be sealed with caulk, especially the roof in order to trap the heat generated by the sun and body heat from the bats. Dark paint is recommended to help absorb heat.

Placement: 15'-20' off of the ground on a pole or south facing building to take advantage of the sun's direct path. Trees should be avoided because they harbor predators and may shade the house.

Check out these links for more information about bats!

Framed Chalkboard Hanger Workshop @ Tum-A-Lum Lumber

Today we offered our 3rd workshop with Tum-A-Lum Lumber in Hood River! This one was open to all ages and most of the attendees were "regulars", having attended all of the workshops thus far. This time we built and painted a framed chalkboard hanger and everyone got creative with orientation, hanger locations and paint! Check out the photos below and our previous tool box, bird house and hanging planter box workshops.

Kid's Tool Box Workshop @ Tum-A-Lum Lumber

Today we offered our second workshop with Tum-A-Lum Lumber in Hood River! This time we focused it on kids who learned how to hammer together pre-cut pieces of pine into their own toolboxes. Then they got creative with paint to personalize their toolbox. Stay tuned for a DIY how-to guide so you can make one of your own! Also, you can check out last month's bird house workshop here.
toolbox workshop, tum-a-lum lumber
toolbox workshop
toolbox workshop
toolbox workshop
toolbox workshop
toolbox workshop

Bird House Workshop @ Tum-A-Lum Lumber

Today the company I founded, enerstructa llc, offered our first official workshop in partnership with Tum-A-Lum Lumber in Hood River, Oregon! Due to high interest in the workshop, we actually taught 2 groups of 10 people of all ages how to build bird houses. Tum-A-Lum provided all of the materials and tools for the workshop. Prior to the workshop, I pre-cut the pieces of each kit and then participants nailed the pieces together to form the birdhouse. We also used drills to screw on the bottom pieces so they can be more easily removed to empty out the next each year. Finally, everyone painted their bird house, getting creative with the red, yellow and blue quick drying paint. Stay tuned for a DIY how-to guide so you can make one of your own!

bird house workshop
bird house workshop
bird house workshop
bird house workshop
bird house workshop
bird house workshop
bird house workshop
bird house workshop, tum-a-lum lumber
bird house workshop

Workshop Kick-Off @ Tum-A-Lum Lumber

Hey everyone, sorry it's been a while since my last post. I've been busy working on starting my own business, enerstructa llc, which offers EPS home verifications, energy consulting and carpentry & home repair workshops. I am partnering with a local business, Tum-A-Lum Lumber in Hood River, OR, to offer monthly workshops which will be held on the last Saturday of each month from 9-11am. Today was their Founders Day event so I was there tabling to kick-off the workshop series. Participants were able to learn more about upcoming workshops as well as build and take home a hanging planter box. It was so much fun teaching people to build, especially the kids as they caught on so quickly! Check out the photos below. I'm excited for the first official workshop in 2 weeks, on July 29th, where parents can bring their kids to build bird houses. Space is limited and sign-ups will be managed by Tum-A-Lum. Once the event is created, I will post a link here to register!
enerstructa llc
enerstructa llc
enerstructa llc
enerstructa llc

Support Women Building Workshops!

Hello! I am starting my own business with a focus on empowering women through building workshops. Through the workshops, women will learn how to use tools and choose materials to successfully build a variety of DIY projects as well as hone home repair skills. To get these workshops going, I started a gofundme campaign which you can check out, share and donate here. The money from this fundraiser will go toward workshop development, space rental, tool and material acquisition. If enough funds are raised, I will also be able to offer a scholarship program to ensure equitable access for all. I greatly appreciate all of your support!
@SheStructs
*Follow along on Facebook and Instagram @SheStructs!

Tiny House (& Van) Conference

Last weekend I was invited to attend the Tiny House Conference in Portland, OR! This year they had a special Track C for people who had attended a conference or for those who already live in a tiny house. Of about 30 people who signed up for this track, I was one of about a third who already live in one so it was fun to hear what other people had done and their learning lessons as well as the questions and comments from the soon to be tiny housers. We also discussed advocacy and what's in motion at the state and national levels that will potentially shape the future. Finally, of course, we toured the tiny homes people had brought from all over the country.
tiny houses, Laura's Blog
Just a few of the tiny homes in the parking lot.
I have to say though that since I have built and lived in mine, I could live with even less. I originally started with a 20' design, then 18' and finally 16' because in addition to the design challenge, I knew that smaller would be easier to tow around and to find places to park. Some time after building my home, I sketched out a 12' plan and learned how to maximize space even more. After moving mine twice I realized some limitations of taking it on the road and finding a place to live. In some ways I want to be more mobile but still have a solid home base (which will hopefully be the strawbale house on owned property).
I have been looking at Sprinter van conversions with my boyfriend lately and we have been thinking about buying one and building out the inside to travel and live out of for periods of time. Van living is an attractive idea to me because it enables a similar level of the hand-made customization of tiny homes but eliminates the need for a towing vehicle, is more compact and stealthy to live out of. It has a solid shell that you could paint to give it some character and can be easily set up to live off grid. Wheels are turning...
sprinter van conversion

Wintering in a Tiny Home

tiny house
Wow, what a crazy winter we have had this year! When I first talked to the people who are hosting my tiny home and me, they told me snow was more of a novelty than the norm. So I wasn't expecting multiple snowstorms, feet of snow on the ground for months, and days when I couldn't get to work because I had to wait for the rural roads where I live to be plowed. They say this has been a record winter, worse than any in 20 years, so maybe I should consider myself lucky to have had this experience. Don't get me wrong, snow can be beautiful when it's falling and waking up to a blue sky and snow topped ponderosa pines is downright magical. It's the cold, the shoveling and the treacherous road conditions dealt with on a daily basis that remind me why I moved away from a snowier climate. Can you tell I'm ready for spring?
tiny house
I am happy to say my tiny house has held up to the snow and below zero temps. Well mostly. My cantilevered door awning did manage to build up enough snow to split and rip apart the siding and furring strips I had lag screwed it to so I'm going to have to do some repairs to get it reinstalled. Luckily I had added a 2x4 across the horizontal supports so the polycarbonate didn't break.

I did invest in a heated water hose this winter and it was the best decision I could have made. For around $100, I have had running water all winter long. We didn't end up installing a frost free hydrant but the utility shed structure and a little bit of insulation around the water hose connections were enough to keep the line from freezing. I had guessed that I would be dealing with colder weather for a longer period of time than I had in Portland, and boy was I right! I highly recommend buying and using one if you live in a climate with below freezing winter temps.
heated water hose
Also, I bought an oil filled radiant heater to use as the primary heat source for my home. I usually had it set on the low or eco modes at 65 degrees (the lowest temp possible), and that was more than adequate to keep the house warm even in sub zero conditions.
oil filled radiant heater

Garage: Cargo Trailer Build Out

Since there is more space at my new place, I decided to buy a cargo trailer that I could build out as a garage for tools and gear storage. It would also make moving again easier since I could store in it most of the things I had set up outside and under my house at the last place. You can read this post for a little more info about picking out the trailer and the move. Mainly, I chose a prefabricated cargo trailer due to time constraints and cost to build something myself. This 5'x8' cargo trailer was $2,236 new. I priced out just a trailer frame in this size at $1,500 so I think it's a pretty good deal to go with the fully built option.
When looking for a trailer, I wasn't certain that I needed the extra height of this one for my things but I sure have appreciated the ability to stand up inside! Also, I really like having a side door to access things a little easier. The double back doors can be a little difficult to get closed because I really have to press the lever toward the trailer and then push it down into the groove so that one of the pieces with a hole for a lock can swivel around and down. I think this is just part of the design to get a tight seal. Adding lubricant also has helped.
In designing my tool storage area, I decided to put it on the long side of the trailer opposite the side door. I wanted to build a shelving system for my toolbox and storage totes with tools, fasteners and materials. Since I had extra 2x4s and 1/2" plywood floating around from another project, I decided to use them for the shelves. With these materials and screws (always good to keep extra fasteners around!), I created a frame with 2 shelves. The 2 largest totes fit underneath on the floor, the 3 smaller totes fit on the shelf in the middle and the toolbox sits on the top shelf. I also installed some hooks and racks for other tools, extension cords and hoses.
On the other long side wall with the door, I installed the metal cabinet that I had used for my outdoor kitchen. I placed it up as high as I could so the RV camp stove could fit under and still provide a small storage space above. In the future, it might be neat to put the camp stove on industrial drawer slides to be able to slide it out the back and use it to cook!